HOPR Apps - Hello world
The following is a 5-minute guide to help you get familiar with the HOPR protocol and start developing apps on top of the HOPR network by learning how to send and read messages between two nodes.
Requirements
1. Previous guides
Before getting started, we suggest you get familiar with the following concepts:
2. HOPR Cluster & exported variables
Make sure you have a HOPR cluster1 available for you to connect. Also, make sure to have the equivalent of at least 2
node endpoints (both HTTP and WS). Here are the default values for each of these endpoints.
Default values for apiToken and nodes endpoints
apiToken
^^LOCAL-testing-123^^
HOPR_NODE_1_HTTP_URL
HOPR_NODE_1_WS_URL
HOPR_NODE_2_HTTP_URL
HOPR_NODE_2_WS_URL
We'll assume your HOPR nodes were run using the instructions from "HOPR Cluster Development Setup". If you are looking to interact with your node via a terminal, we suggest you copy/paste the following commands every time you open a new terminal.
export commands for terminal
API Token
export apiToken=^^LOCAL-testing-123^^
Node 1
export HOPR_NODE_1_HTTP_URL=http://127.0.0.1:13301 HOPR_NODE_1_WS_URL=ws://127.0.0.1:19501
Node 2
export HOPR_NODE_2_HTTP_URL=http://127.0.0.1:13302 HOPR_NODE_2_WS_URL=ws://127.0.0.1:19502
All in one line
export apiToken=^^LOCAL-testing-123^^ HOPR_NODE_1_HTTP_URL=http://127.0.0.1:13301 HOPR_NODE_1_WS_URL=ws://127.0.0.1:19501 HOPR_NODE_2_HTTP_URL=http://127.0.0.1:13302 HOPR_NODE_2_WS_URL=ws://127.0.0.1:19502
Connect to your nodes
1. Connect to the WebSocket server of node 2
Using websocat or any other WebSocket client, connect to node 2 until you are able to receive and send messages to it.
Connecting to node 2 via websocat
.bin/websocat "$(echo "$HOPR_NODE_2_WS_URL" | sed "s/http/ws/")/?apiToken=$apiToken"
Connecting to node 2 via Piesocket WebSocket Tester
ws://127.0.0.1:19502/?apiToken=^^LOCAL-testing-123^^
You can verify that you are connected by typing the command address and seeing an output similar to this:
{"type":"log","msg":"admin > address\n","ts":"2022-02-02T19:17:48.431Z"}
{"type":"log","msg":"HOPR Address:  16Uiu2HAmKhrwGWcvaZ3ic5dgy7oFawmnELJGBrySSsNo4bzGBxHW\nETH Address:   0x4cD95E1deF16D5913255Fe0af208EdDe2e04d720","ts":"2022-02-02T19:17:48.435Z"}
2. Verify REST API connectivity for node 1
Using curl or any other HTTP client, verify you can reach node 1's API
Obtaining the address for node 1 using curl
echo -n $apiToken | base64 | xargs -I {} curl -s -H "Authorization: Basic {}" $HOPR_NODE_1_HTTP_URL/api/v2/account/addresses | jq
Obtaining the address for node 1 using reqbin
URL
http://127.0.0.1:13301/api/v2/account/addresses
Custom Header (default apiToken base64-encoded)
Basic Xl5MT0NBTC10ZXN0aW5nLTEyM15e
If you sent a successful request, the response will look something like this:
{
  "nativeAddress": "0x3a54dDE3ee5ACfd43C902cbecC8ED0CBA10Ff326",
  "hoprAddress": "16Uiu2HAmE9b3TSHeF25uJS1Ecf2Js3TutnaSnipdV9otEpxbRN8Q"
}
Send messages
The HOPR protocol allows you to send private messages between nodes by using other nodes as relayers. Each message “hops” (hence the name “HOPR”) until it reaches its final destination, its contents are known only to the final recipient. This is done automatically by HOPR nodes, which pick a random path to send your message to your recipient.
The path consists of at least 2 nodes that have channels opened between each other. For instance, to send a message to node 2
from node 1, one path a message could take is node 1 -> node 4 -> node 3 -> node 2. Since HOPR clusters have channels open between all nodes, all possible paths are available.
To try this out, let's use the REST API from node 1 and send a message to node 2, which we'll be able to see via our
WebSocket client connection.
1. Obtaining the address (PeerId) of node 2
Using node 2, type the following command in your terminal with websocat running or the WebSocket client interface:
address
You should see a response like the following:
{"type":"log","msg":"admin > address\n","ts":"2022-02-02T19:17:48.431Z"}
{"type":"log","msg":"HOPR Address:  16Uiu2HAmKhrwGWcvaZ3ic5dgy7oFawmnELJGBrySSsNo4bzGBxHW\nETH Address:   0x4cD95E1deF16D5913255Fe0af208EdDe2e04d720","ts":"2022-02-02T19:17:48.435Z"}
As you can see, the address or PeerId of node 2 is 16Uiu2HAmKhrwGWcvaZ3ic5dgy7oFawmnELJGBrySSsNo4bzGBxHW. You can use that
information to send a message from node 1. Make sure to keep your WebSocket client connected to see any messages received by node 2
2. Sending a message to node 2 from node 1:
To send a message from node 1 to node 2, we need to use node 1's REST API, specifically the /messages endpoint. Using curl
or any other HTTP client, send the following request:
curl -X 'POST' \
  "$HOPR_NODE_1_HTTP_URL/api/v2/messages/" \
  -H 'accept: */*' \
  -H "x-auth-token: $apiToken" \
  -H 'Content-Type: application/json' \
  -d "{
  \"body\": \"Hello world from Node 1\",
  \"recipient\": \"$HOPR_NODE_2_ADDR\"
}"
In the terminal of node 2, you will see something similar to this:
{"type":"log","msg":"#### NODE RECEIVED MESSAGE [2022-02-03T21:48:13.845Z] ####","ts":"2022-02-03T21:48:13.845Z"}
{"type":"log","msg":"Message: Hello world","ts":"2022-02-03T21:48:13.846Z"}
{"type":"log","msg":"Latency: 668ms","ts":"2022-02-03T21:48:13.846Z"}
{"type":"message","msg":"Hello world","ts":"2022-02-03T21:48:13.847Z"}
Congratulations! You have sent your first message using the HOPR protocol!
3. Extra: Channels and tickets
You cannot send unlimited messages2. Each message requires tickets and headers with signatures for claiming
balance updates in a HOPR token balanced payment channel. For every relayer you use (default 2), you need to "attach"
HOPR tokens (0.01 per relay) which are used to pay for the relayer's work. Tickets are settled in a single global entry
HoprChannels Ethereum contract.
The previous message worked because a cluster is configured by default to open a few channels and lock enough HOPR
tokens to send messages to at least 2 relayers. When a path used to relay has depleted (empty) or closed channels,
your message will not be forwarded. You can always see your open channels and their balance with the following command:
channels
You can see your balance via the following command:
balance
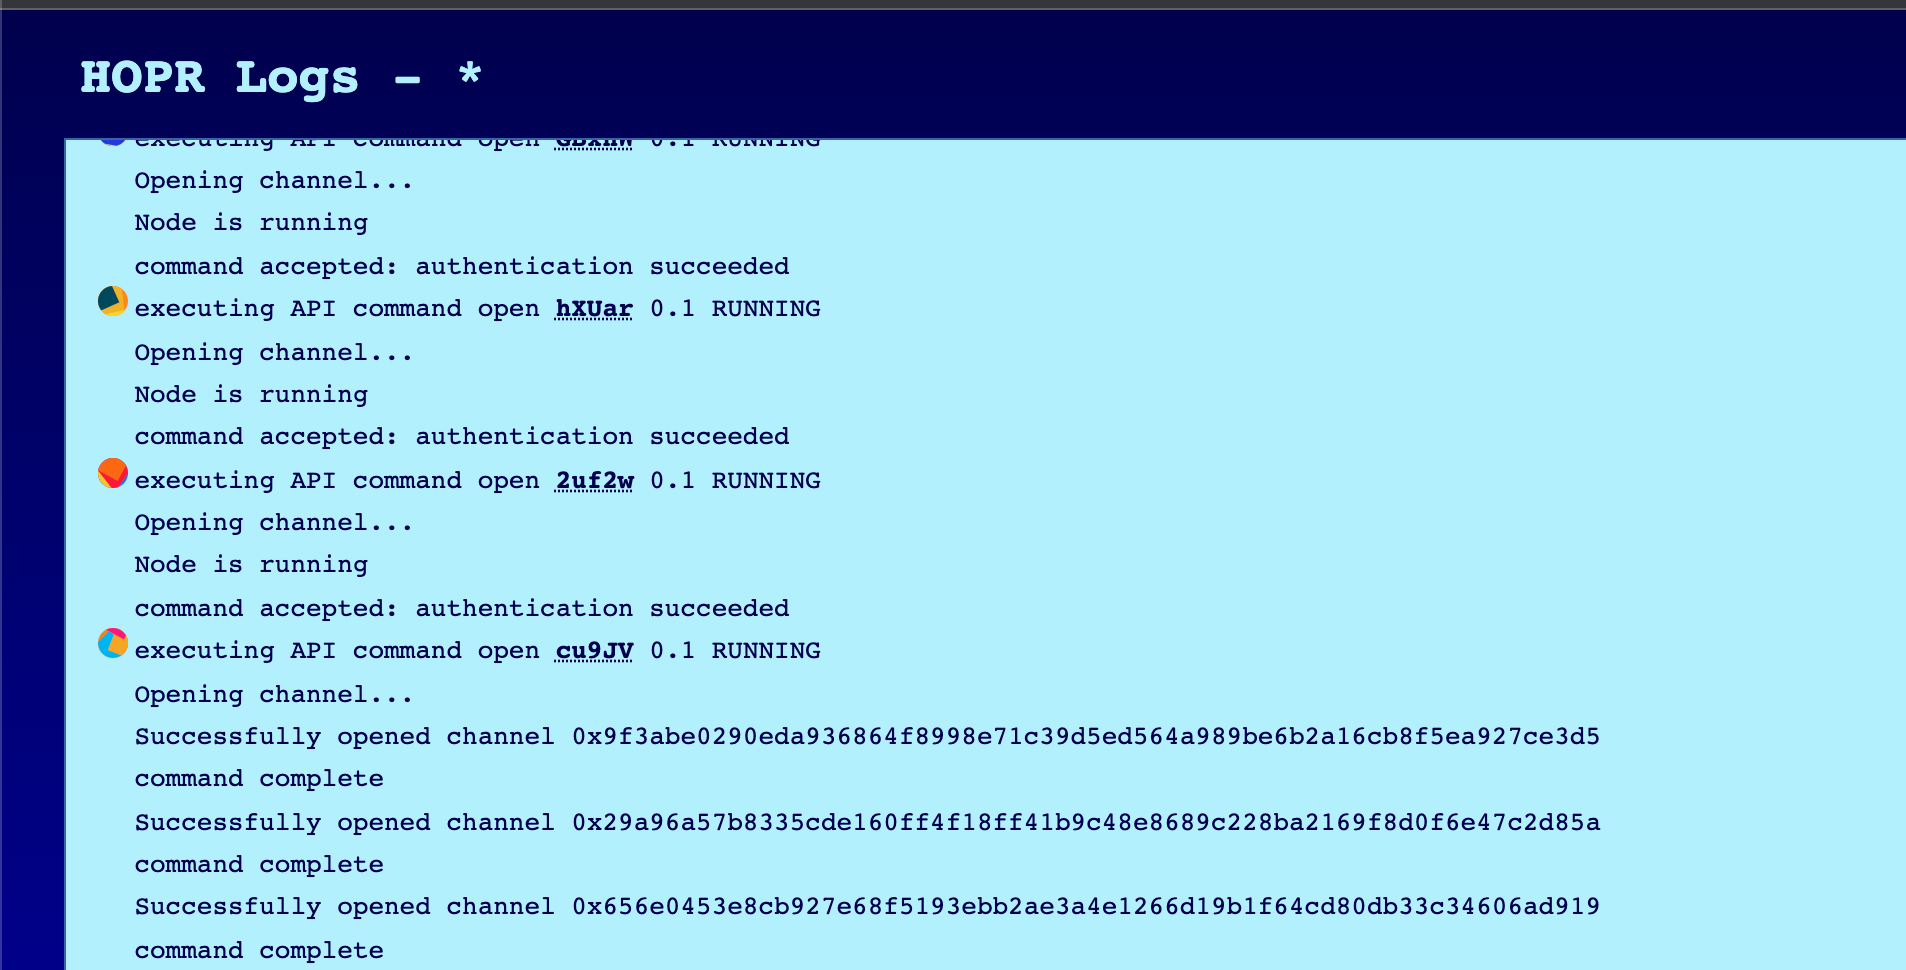
HOPR Admin UI and REST API
We ran all these commands via our WebSocket API, but you can also see them via our web UI interface called hopr-admin.
To view the interface in your browser, simply paste your HOPR_NODE_1_WS_URL. You should be able to see an image like the following one:
Walkthrough
If you need help completing this tutorial, you can watch our 15-minute walkthrough, which also includes the setup of the local HOPR cluster.
Footnotes
-
As defined in "Running a local HOPR Cluster", a HOPR cluster is a set of HOPR nodes that are connected (i.e reachable) between each other and have opened funded channels between each other. This is also known as a Complete Graph, and although it is not required for successfully sending a message (i.e. you only need
1path to a recipient when sending a message), it makes testing and developing HOPR apps easier. ↩ -
When a HOPR node uses the
/api/v2/messagesREST API endpoint to send a message, it will use a random path of at least2nodes as relayers. These messages cost$HOPRtokens because it pays each relayer accordingly to forward the packet. However, you can also send what is known as0-hopmessages, which bear no cost but provides no privacy, as the message is sent directly to the recipient. The REST API endpoint does not expose this, but you can send a0-hopmessage via the HOPR admin UI or WebSocket client by typingsend ,$peerId message. ↩