Bridging HOPR Tokens
The HOPR token can be bridged between the Ethereum and Gnosis chains. Please choose the direction of the bridge:
- Bridge HOPR (Ethereum) to xHOPR (Gnosis)
- Bridge xHOPR (Gnosis) to HOPR (Ethereum)
1. Navigate to the bridge
Go to the Gnosis Bridge page.
2. Connect your wallet
In the top-right corner, click "Connect Wallet" to link your wallet to the Gnosis Bridge.
3. Select Ethereum chain & token
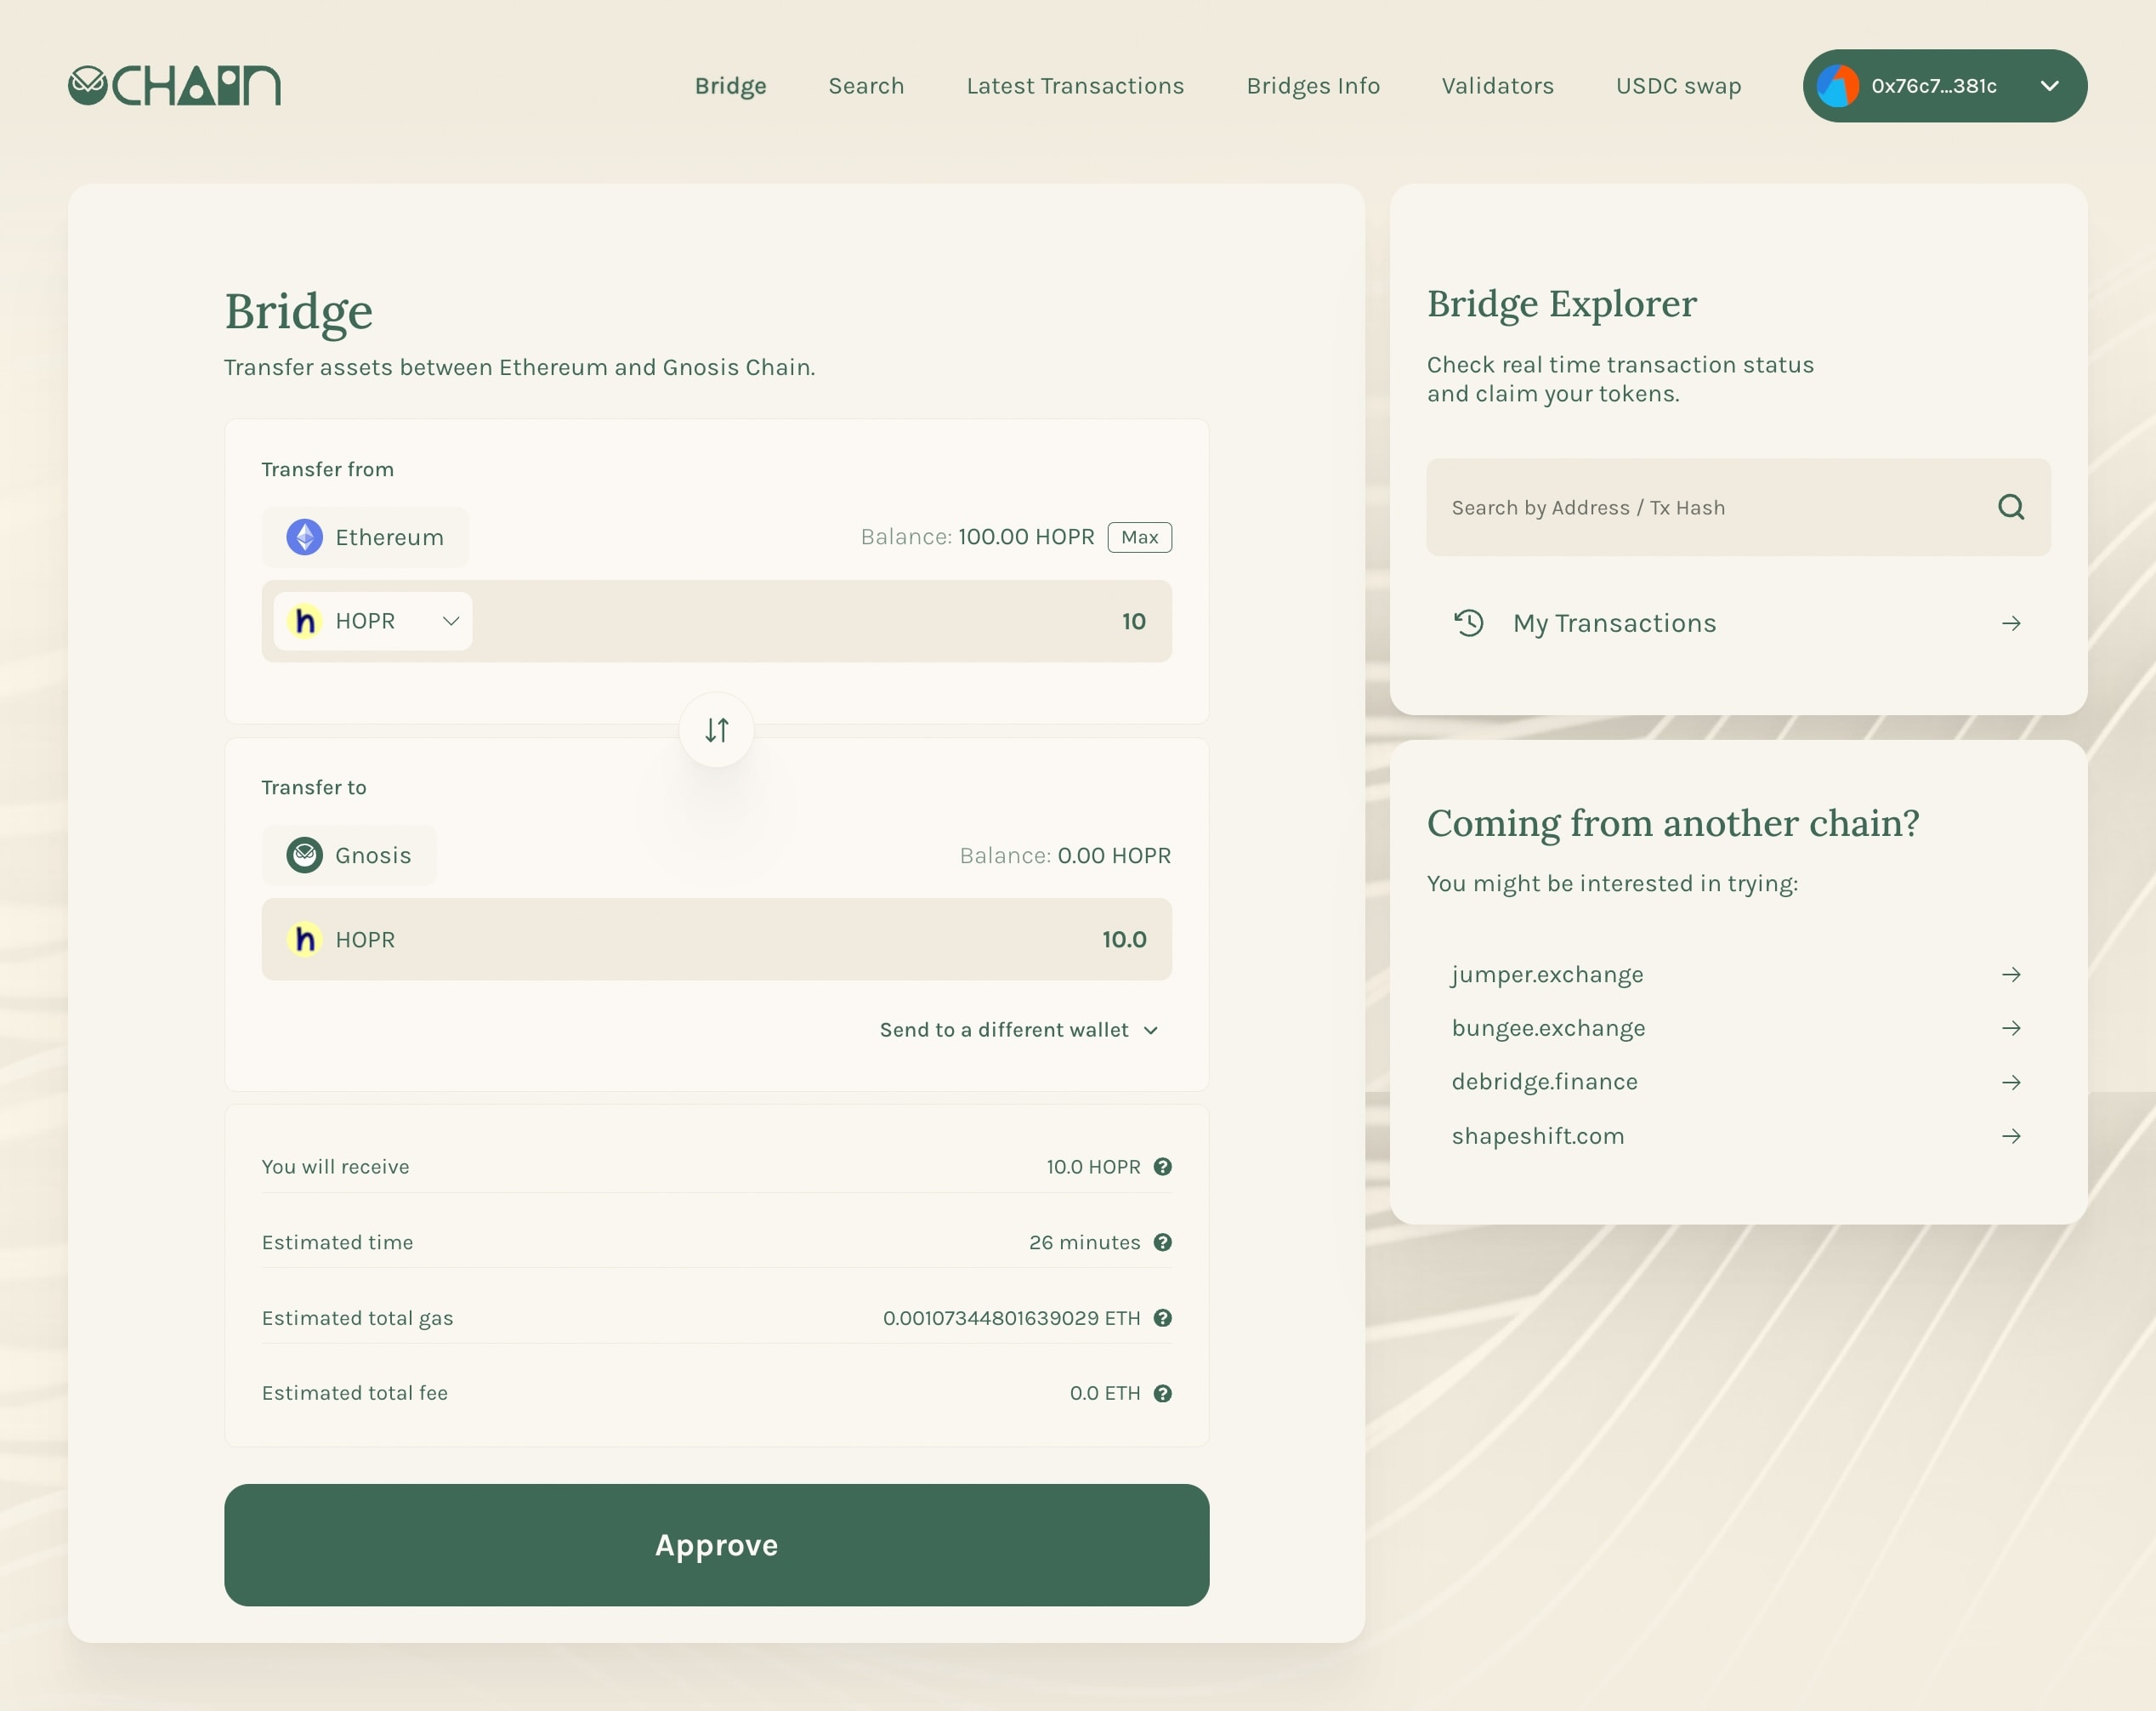
In the "Transfer from" section, ensure that "Ethereum" is selected as the chain. Then, click "Select token" and search for "HOPR token". In the input field, enter the amount of HOPR tokens you want to bridge to Gnosis.
If you are using a Safe wallet, you must use a different recipient address. Safe wallets are smart contracts built on specific blockchains and cannot be used across multiple chains. To avoid losing your funds, ensure the recipient address supports the Gnosis Chain.
To use a different recipient address, click "Send to a different wallet" and enter an address that is compatible with the Gnosis Chain.
4. Approve token spending
Click "Approve" to set the spending limit. In the MetaMask popup, confirm that the spending cap matches the amount you want to bridge.
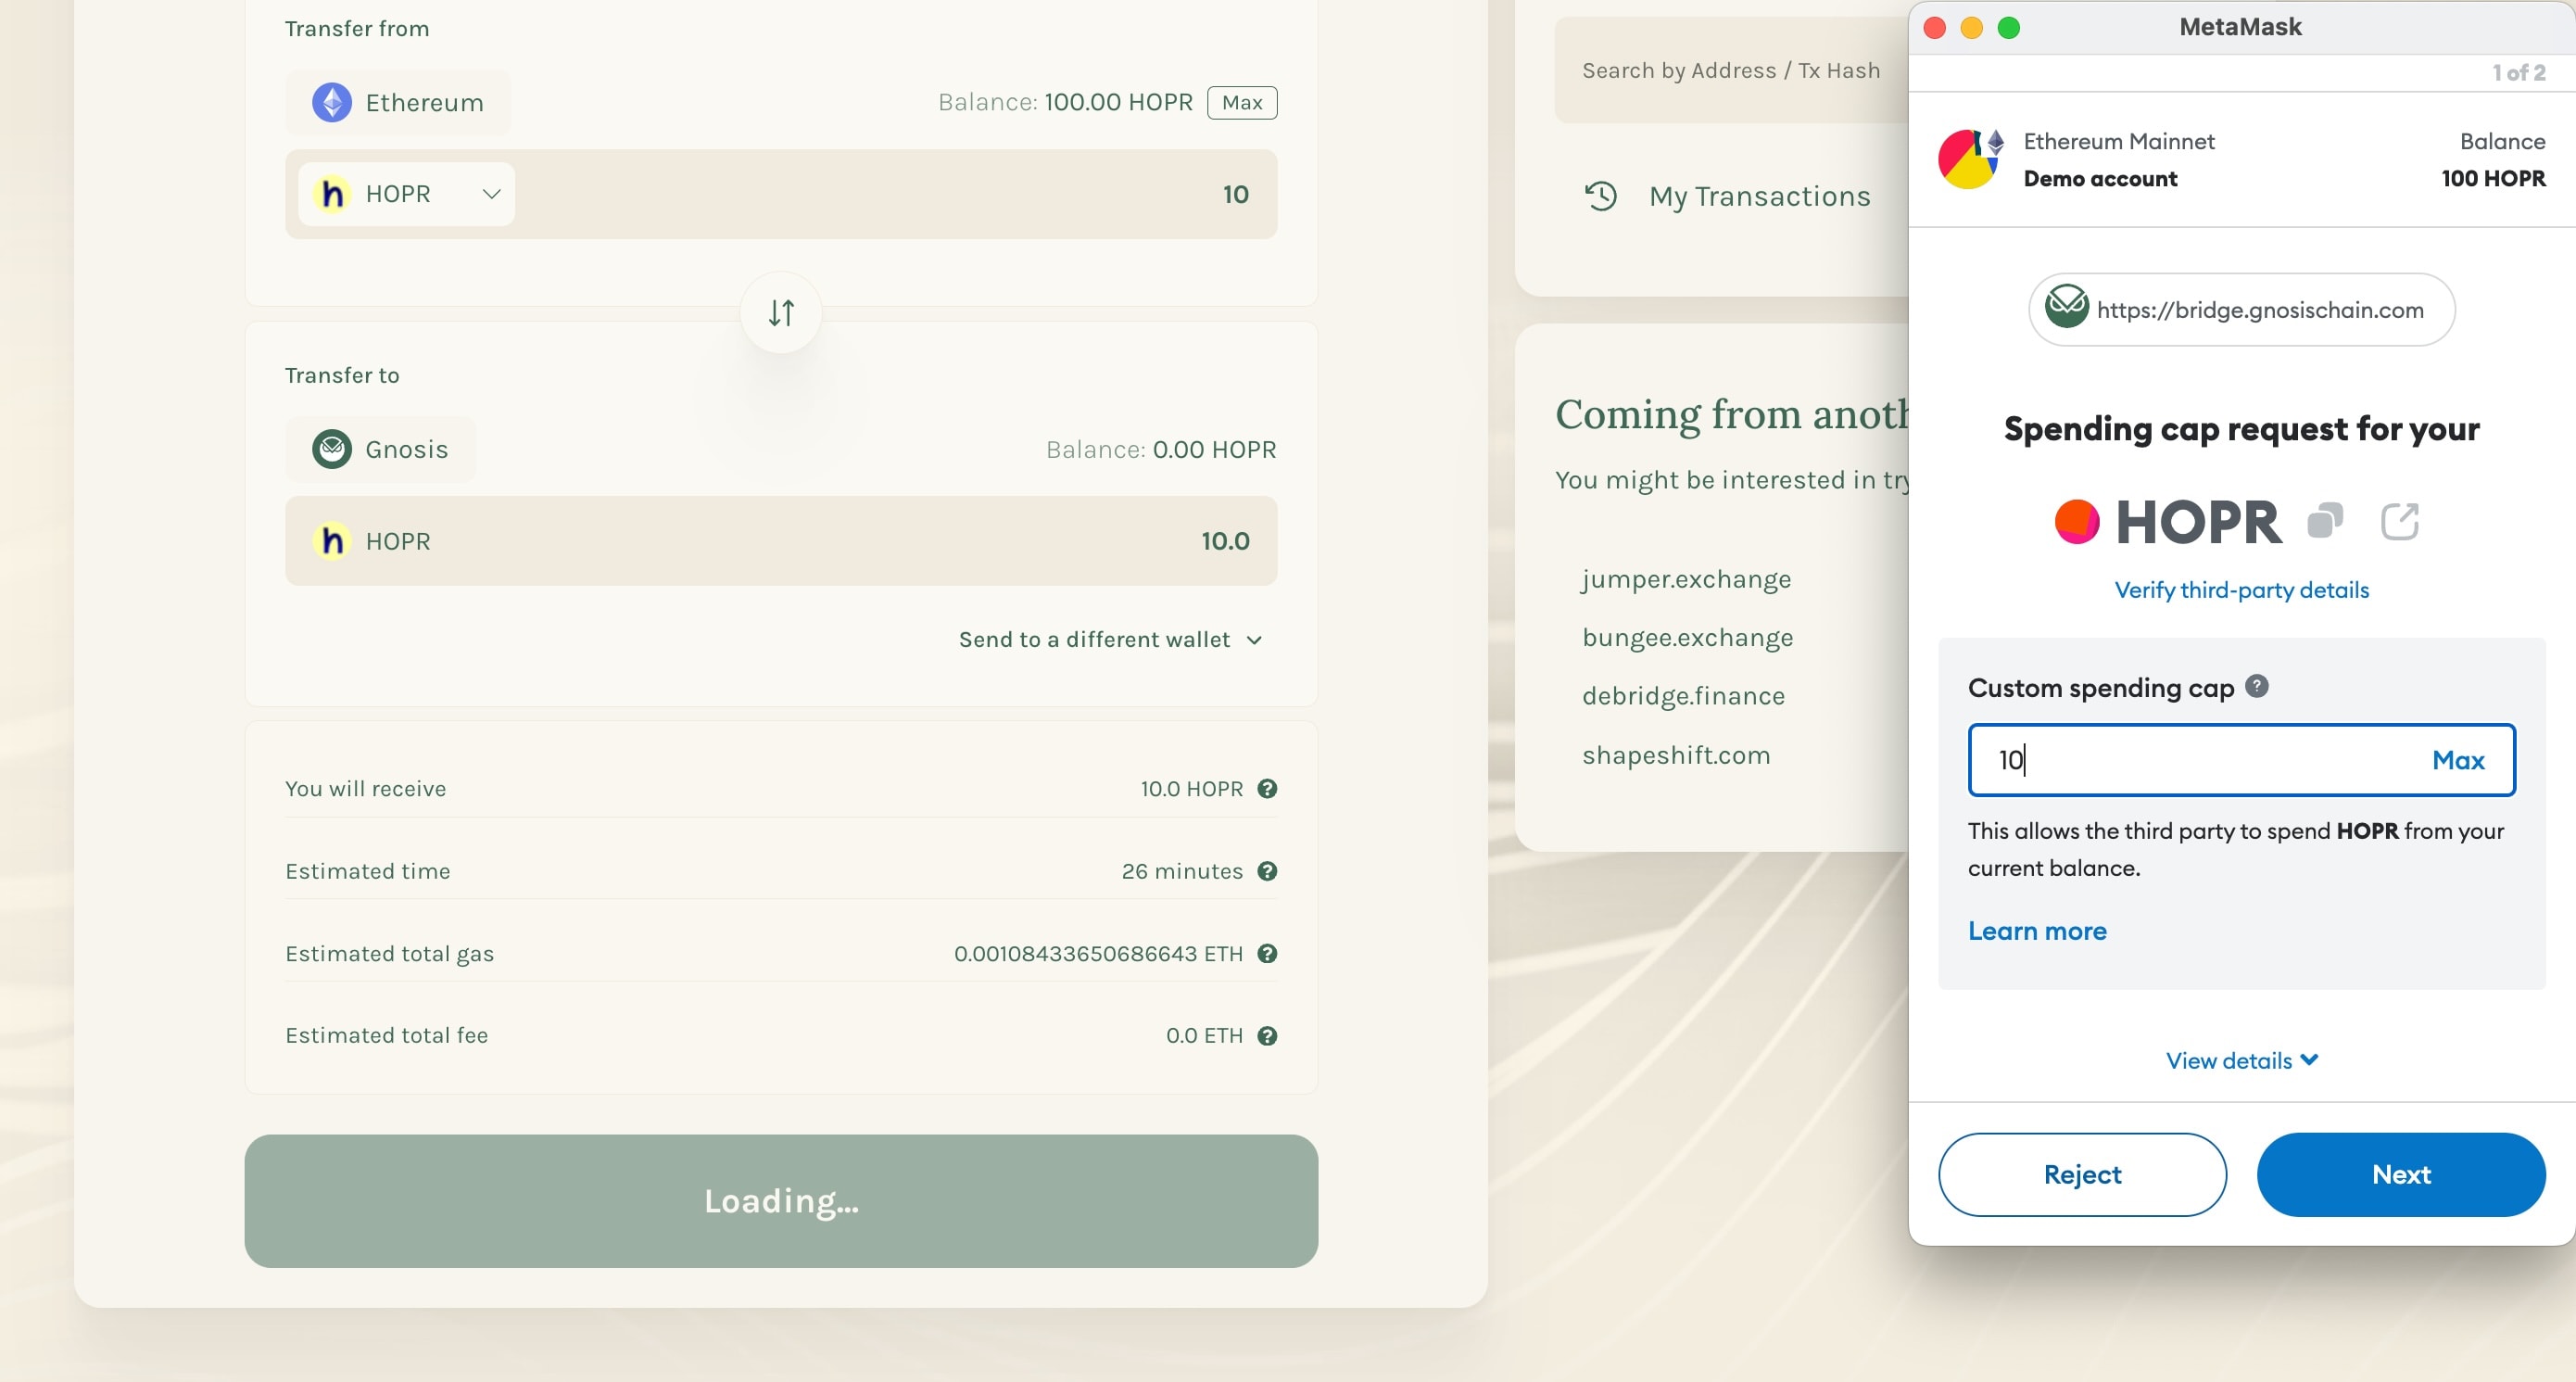
5. Finalize approval
After setting the spending cap, click "Next" and then "Approve" to finalize the approval process.
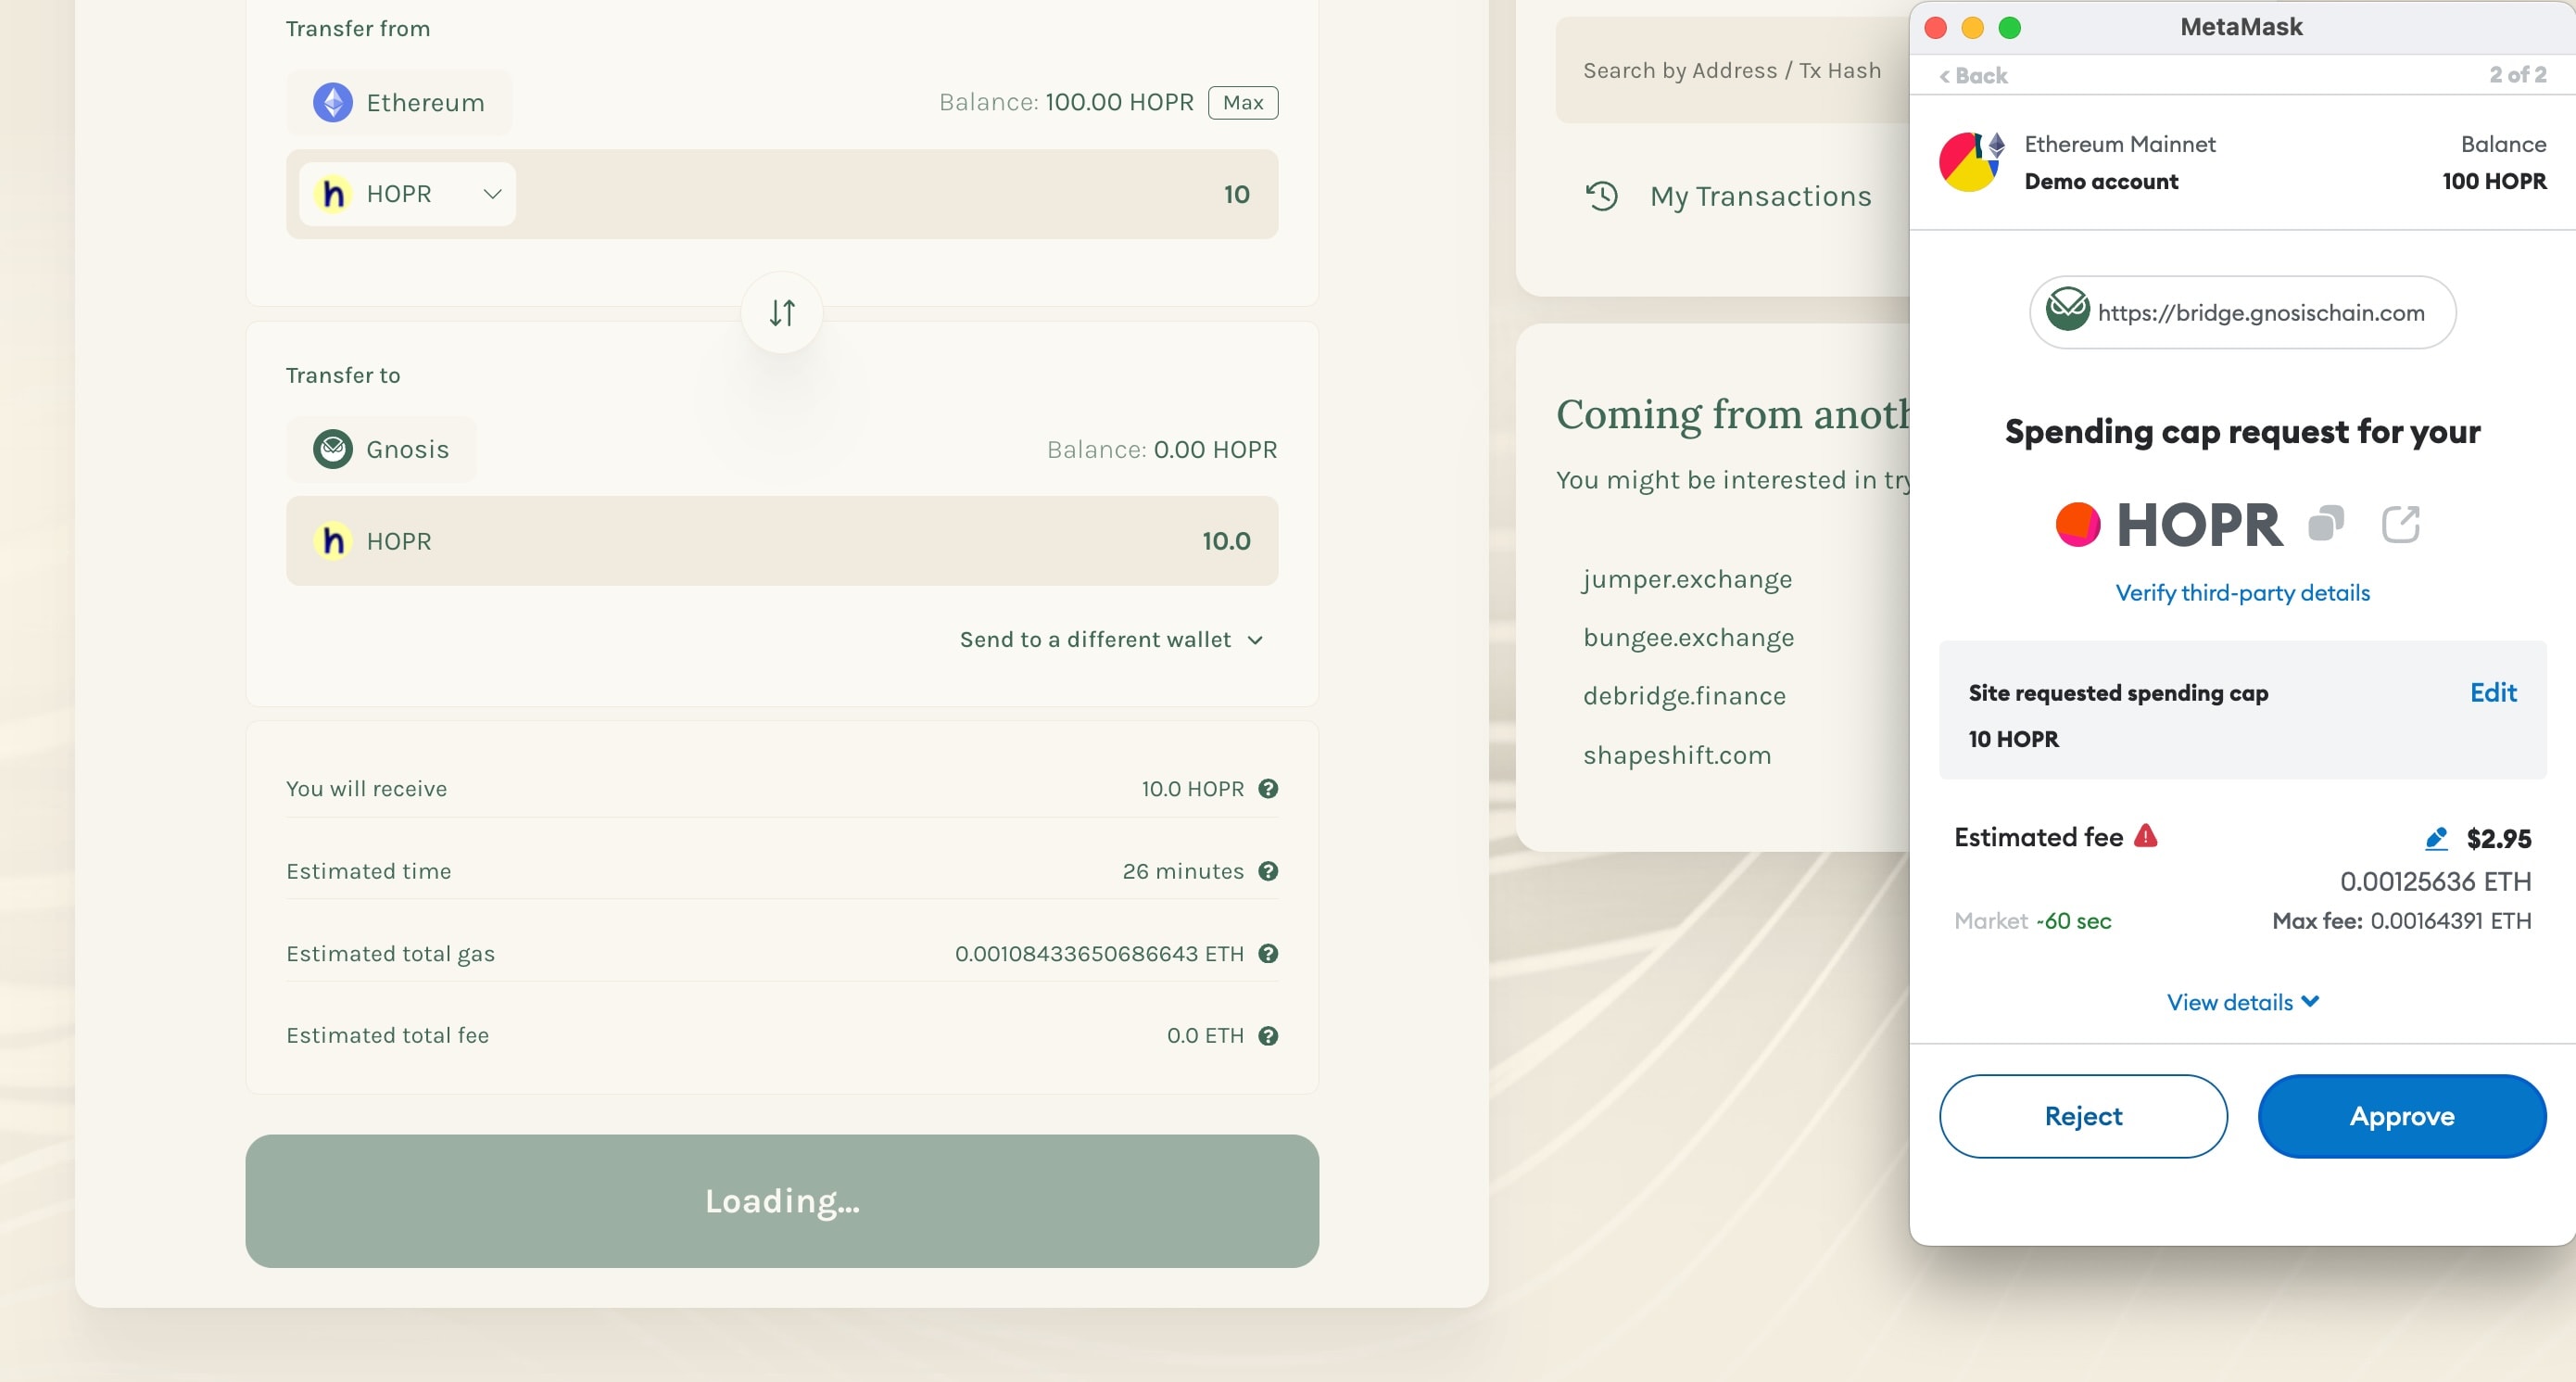
6. Execute the bridge transaction
Once the approval transaction is successful (you can verify this in your wallet or on Etherscan), click the "Bridge" button to start transferring your HOPR tokens to the Gnosis chain.
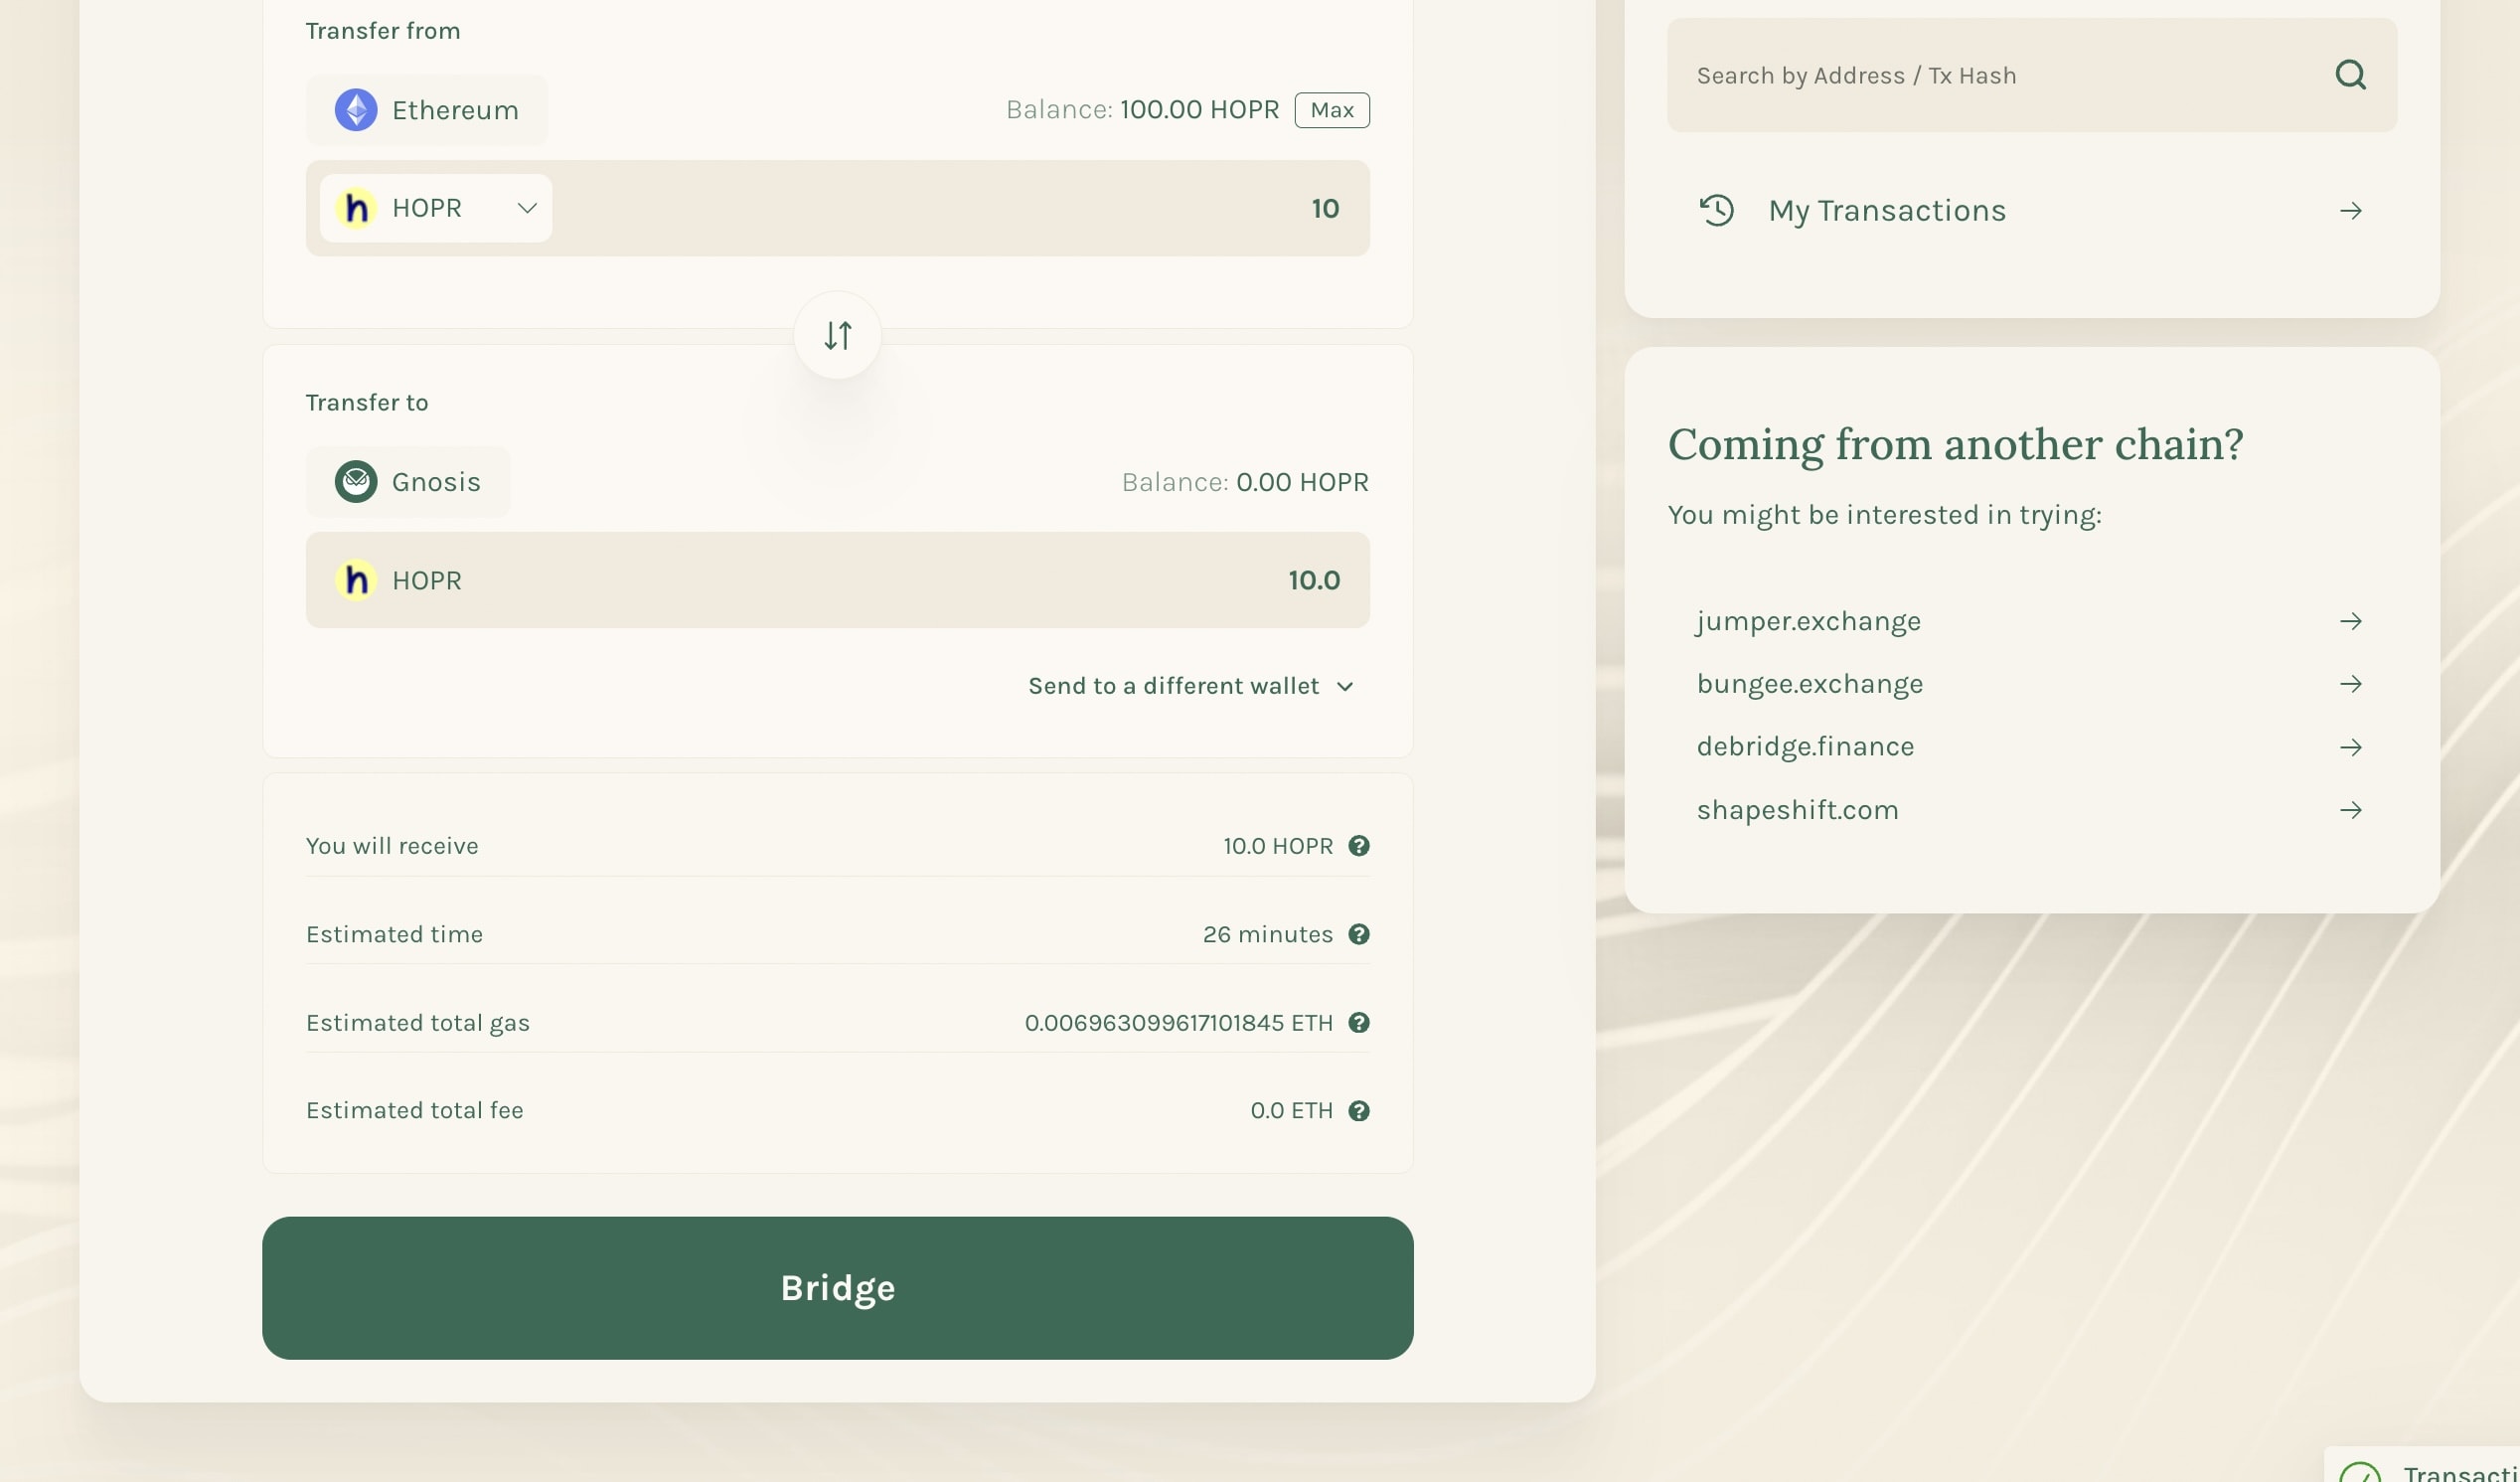
7. Confirm bridging
In the MetaMask popup, verify that the bridging amount is correct and click "Confirm" to proceed with the HOPR token bridging.
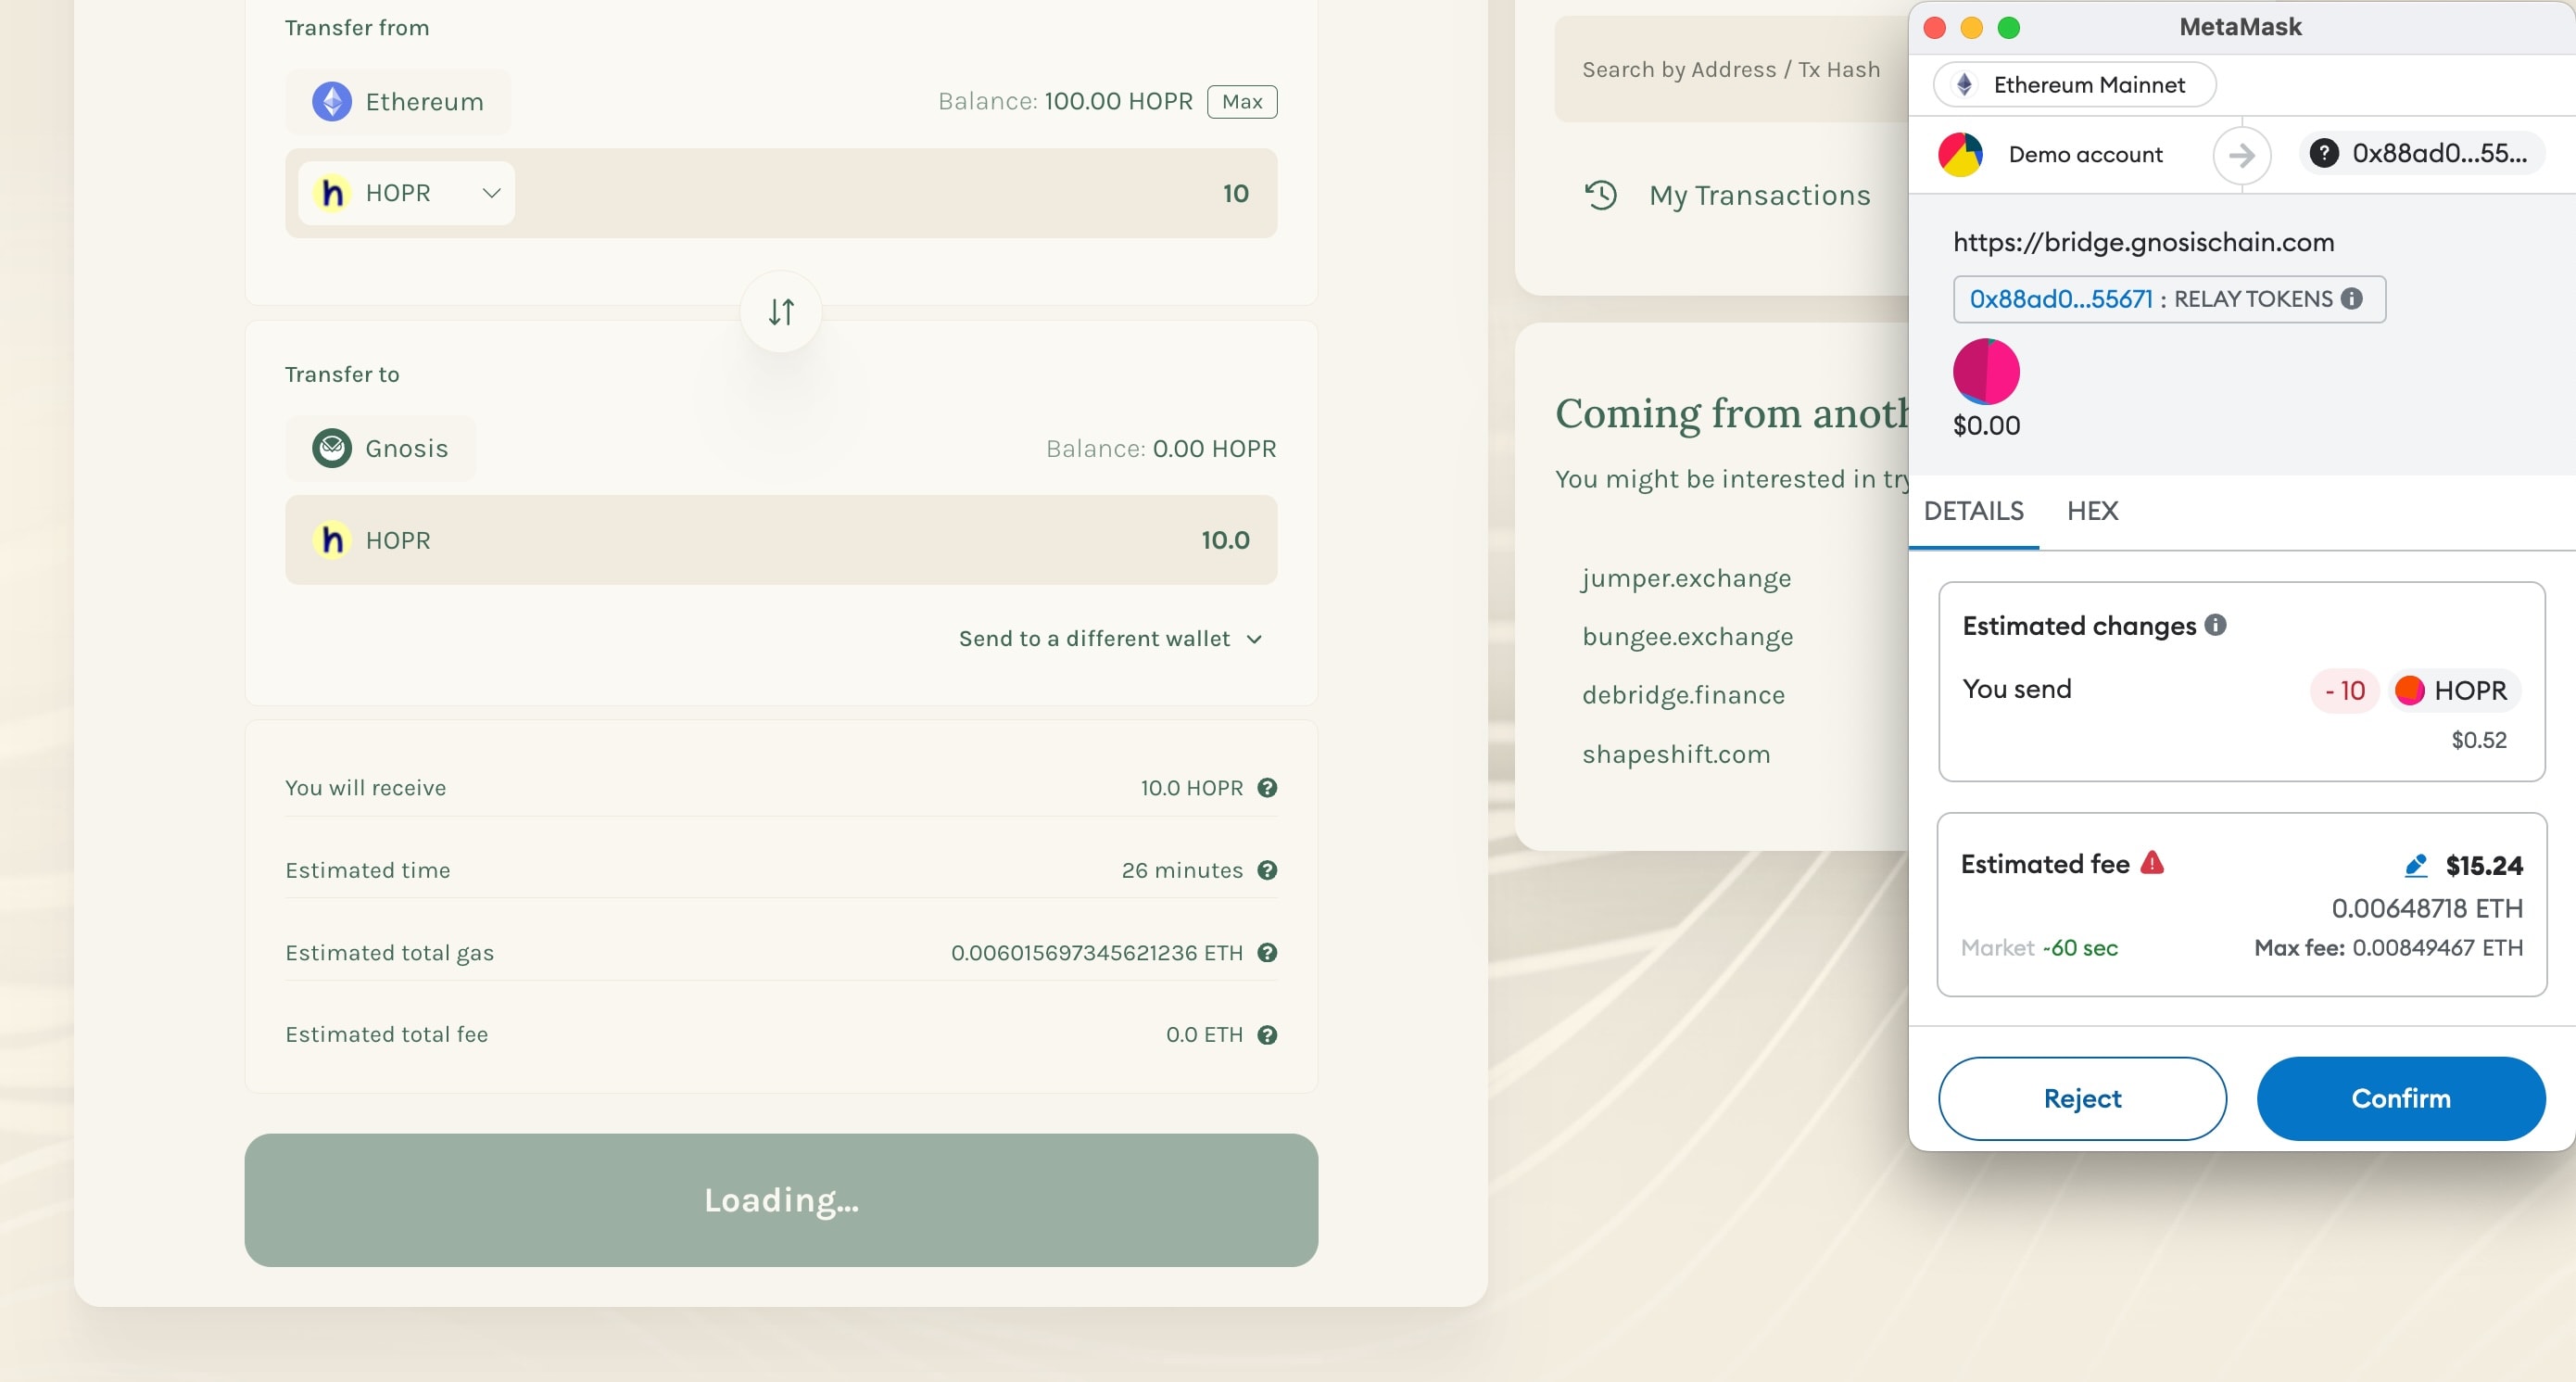
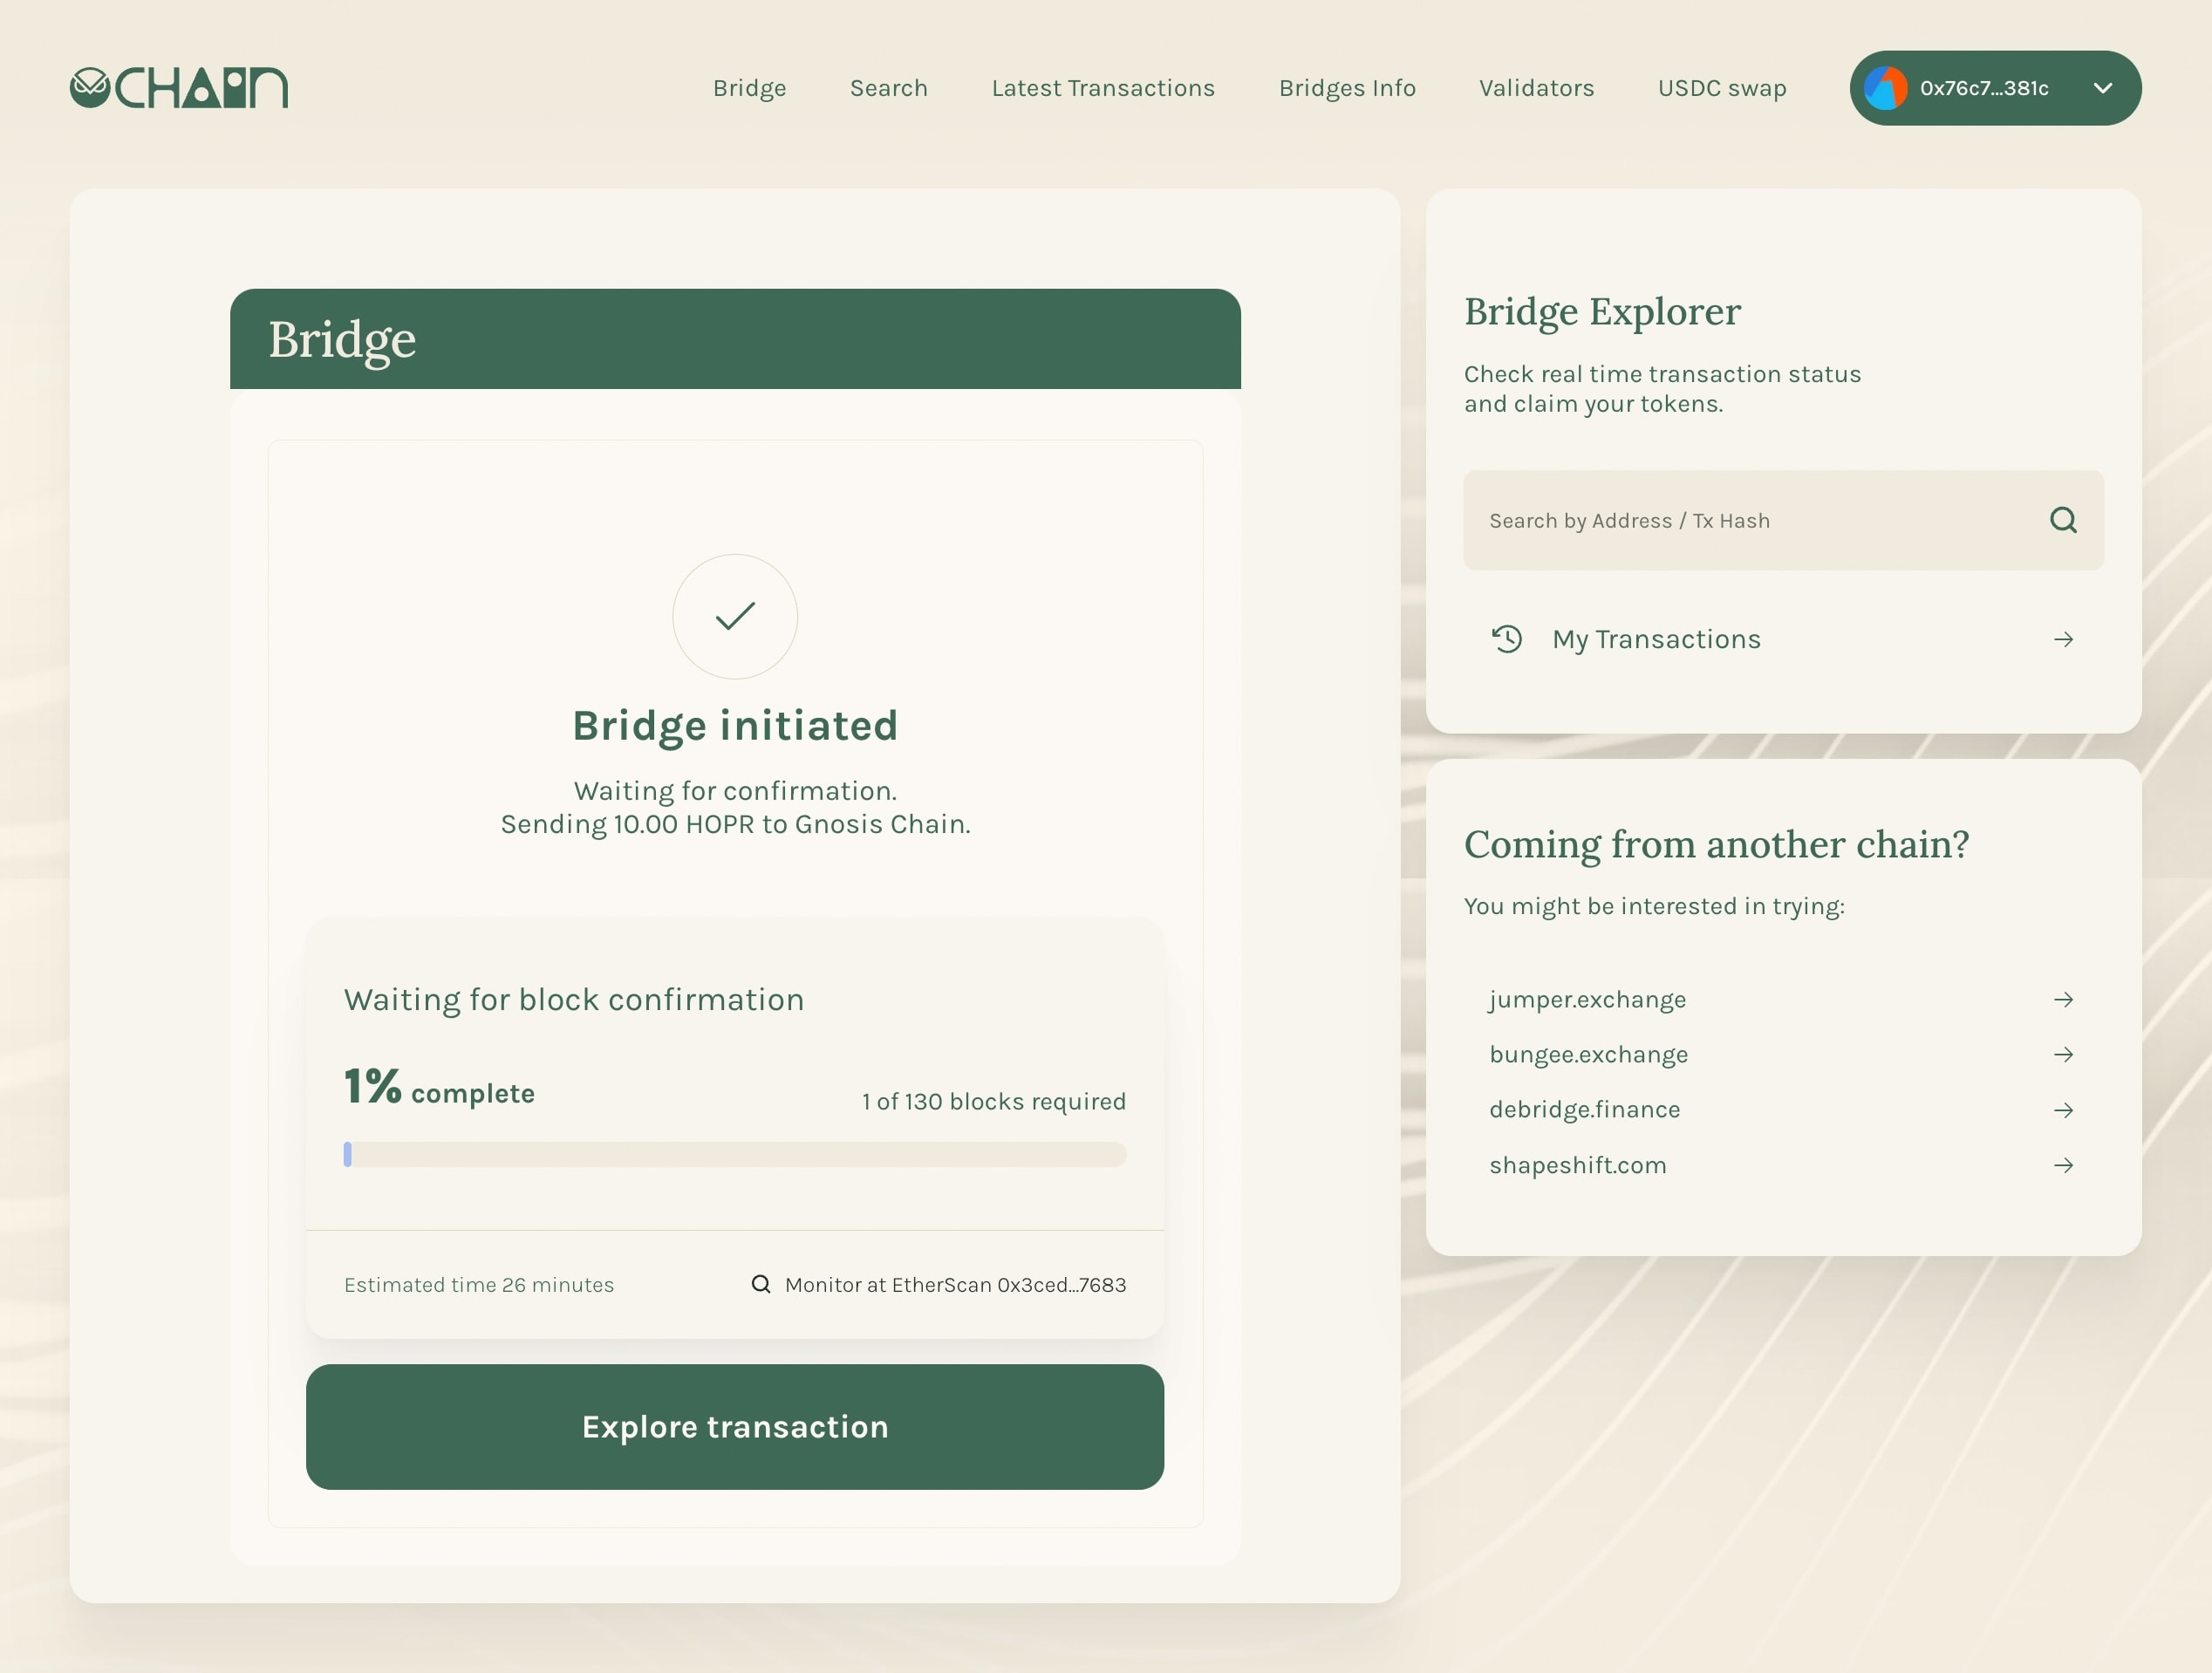
8. Wait for transaction completion
After the bridging transaction has been initiated, you will see a "Bridge initiated" screen. Wait for all required block confirmations to reach 100% completion.
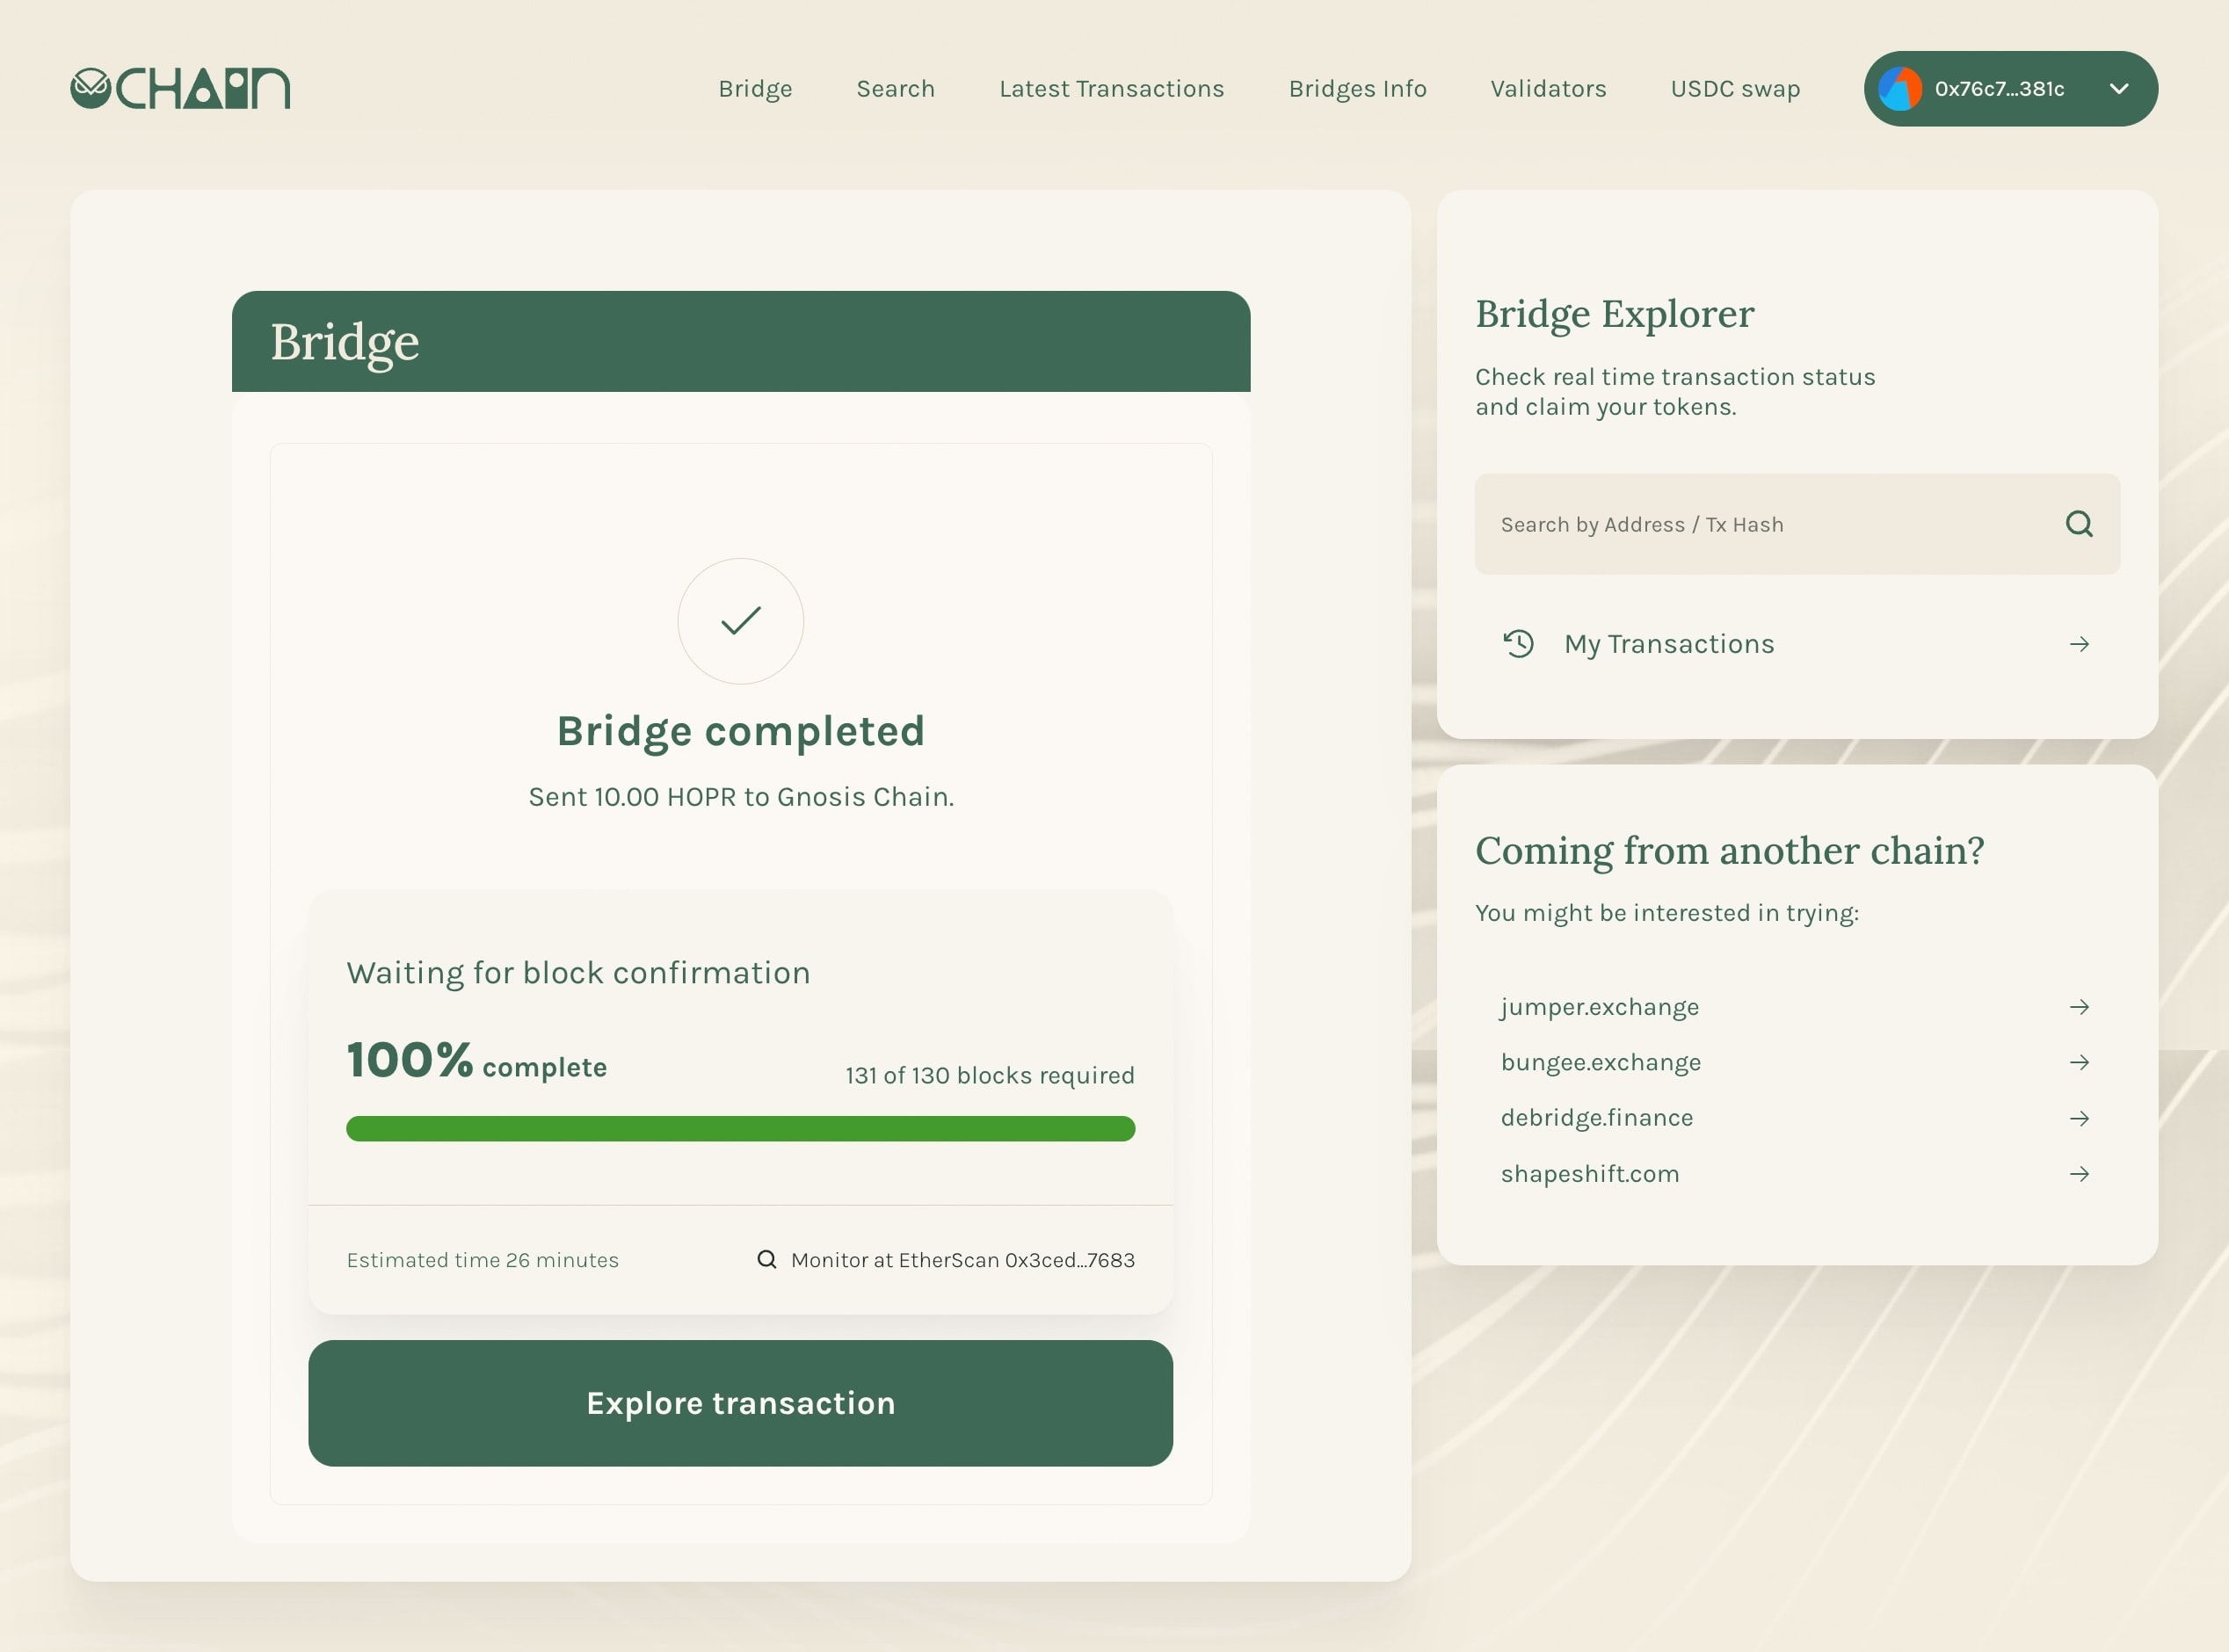
9. Verify completion & import tokens
Once the bridging process is 100% complete, your HOPR tokens will be successfully transferred to the Gnosis chain. You can now import the bridged HOPR token (xHOPR) into your wallet using the correct smart contract address, which can be found here.
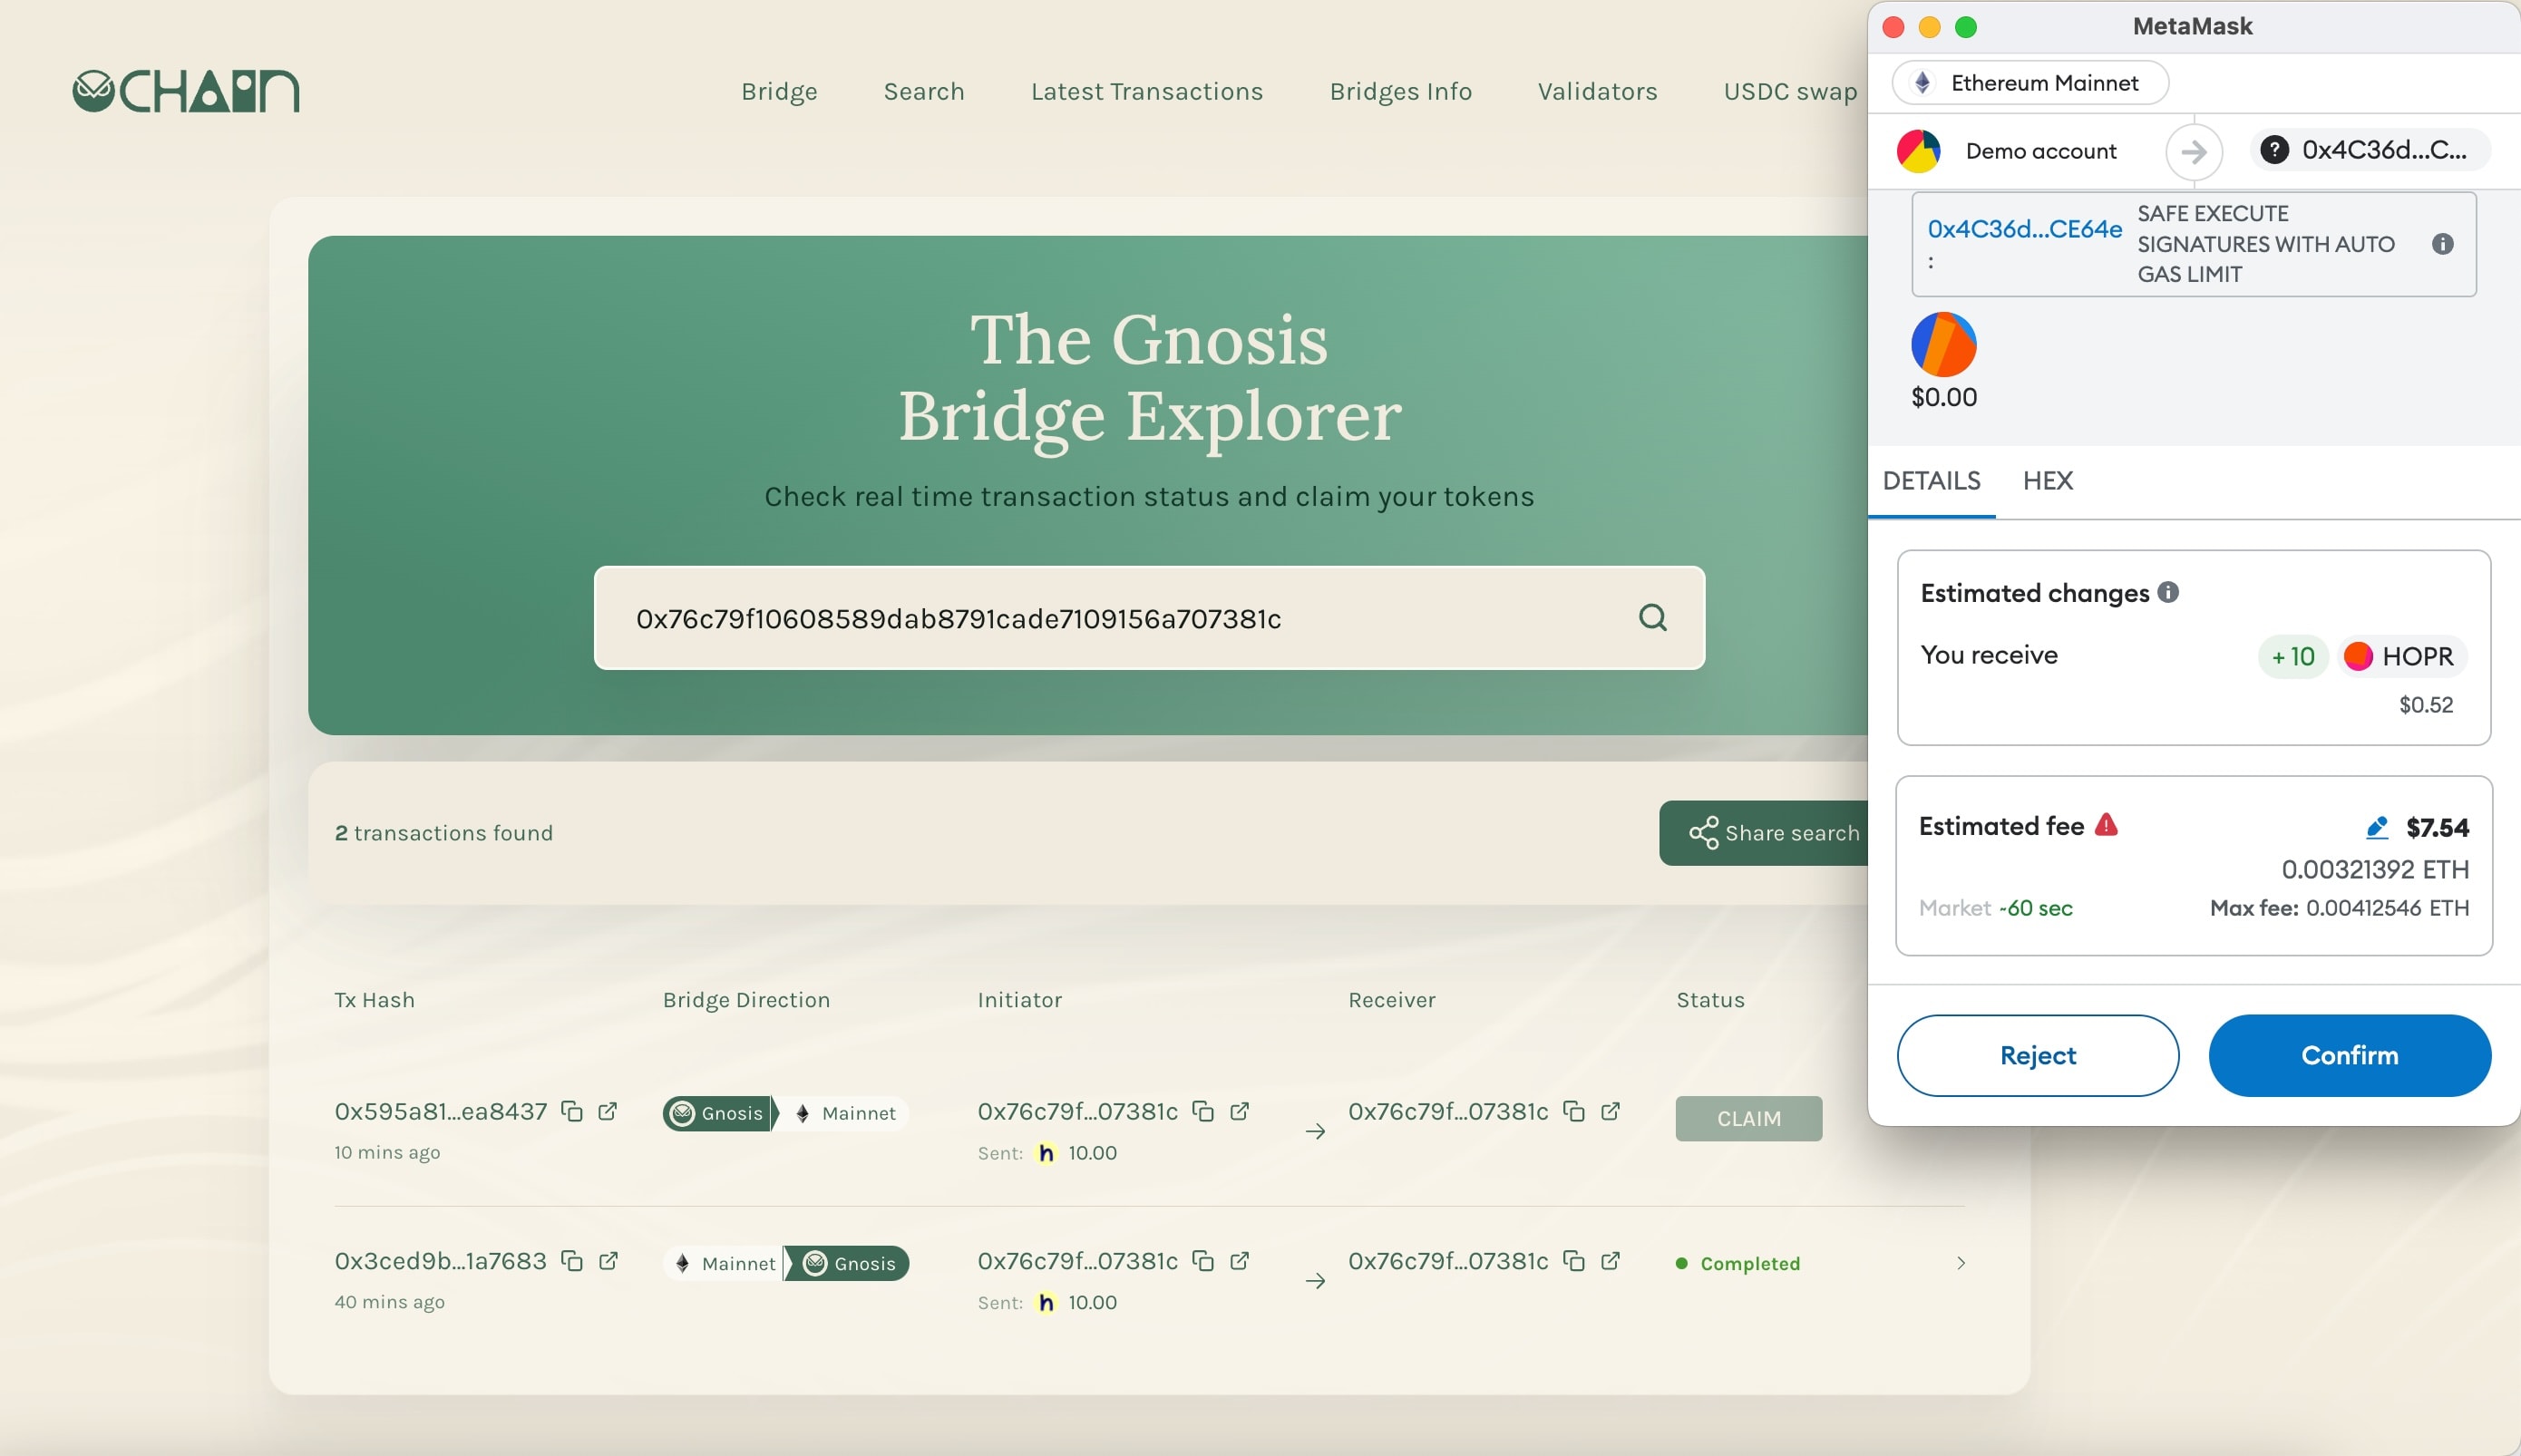
Before initiating the bridging process from Gnosis to the Ethereum chain, please note that you will incur two fees: the first on the Gnosis Chain to initiate the bridge, and the second on the Ethereum chain for claiming your tokens on the mainnet.
Important: Once the bridging process is initiated, it cannot be undone. You must complete the entire process to retrieve your tokens on the Ethereum chain.
1. Navigate to the bridge
Go to the Gnosis Bridge page.
2. Connect your wallet
In the top-right corner, click "Connect Wallet" to link your wallet to the Gnosis Bridge.
3. Switch the bridge direction to transfer from Gnosis to Ethereum
Between the "Transfer from" and "Transfer to" sections, click the "bidirectional arrows" icon to switch the bridging direction from "Ethereum to Gnosis" to "Gnosis to Ethereum". Ensure that "Gnosis" is selected under "Transfer from". Then, click "Select token" and search for "HOPR token". Enter the amount of xHOPR tokens you want to bridge to Ethereum.
If you are using a Safe wallet, you must use a different recipient address. Safe wallets are smart contracts built on specific blockchains and cannot be used across multiple chains. To avoid losing your funds, ensure the recipient address supports the Ethereum Chain.
To use a different recipient address, click "Send to a different wallet" and enter an address that is compatible with the Ethereum chain.
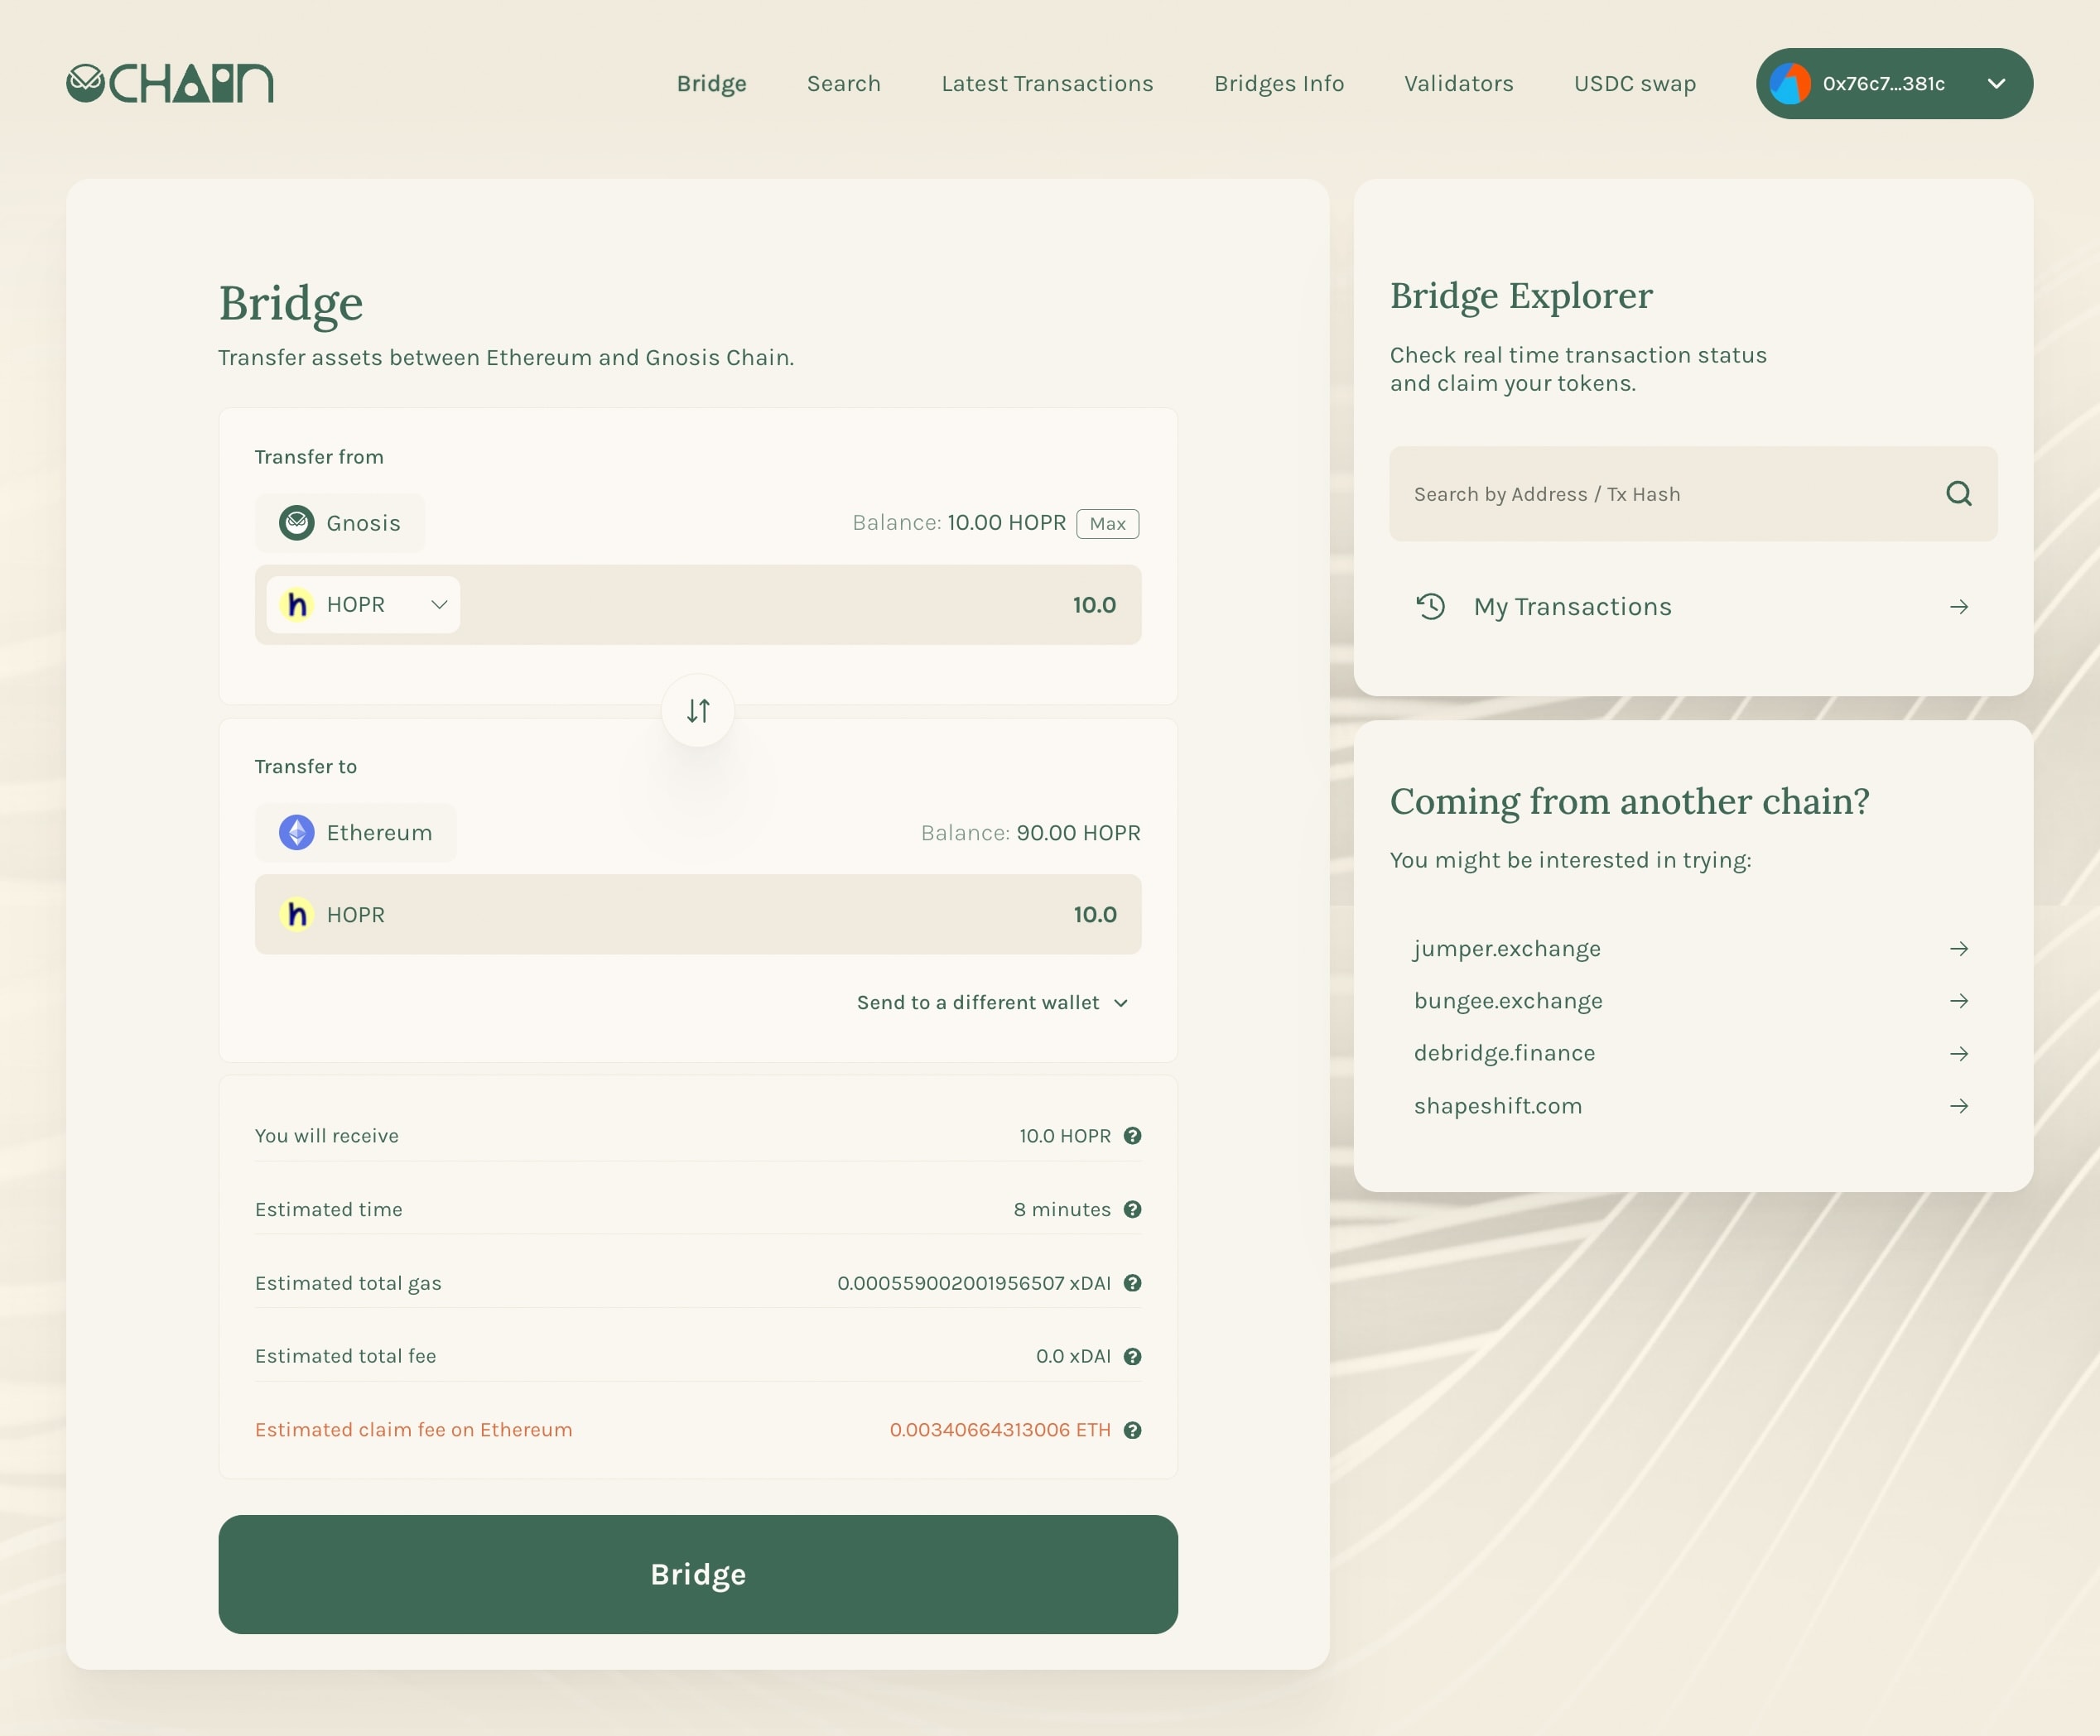
4. Start the Bridge Transaction
Click the "Bridge" button to begin transferring your HOPR tokens to the Ethereum chain.
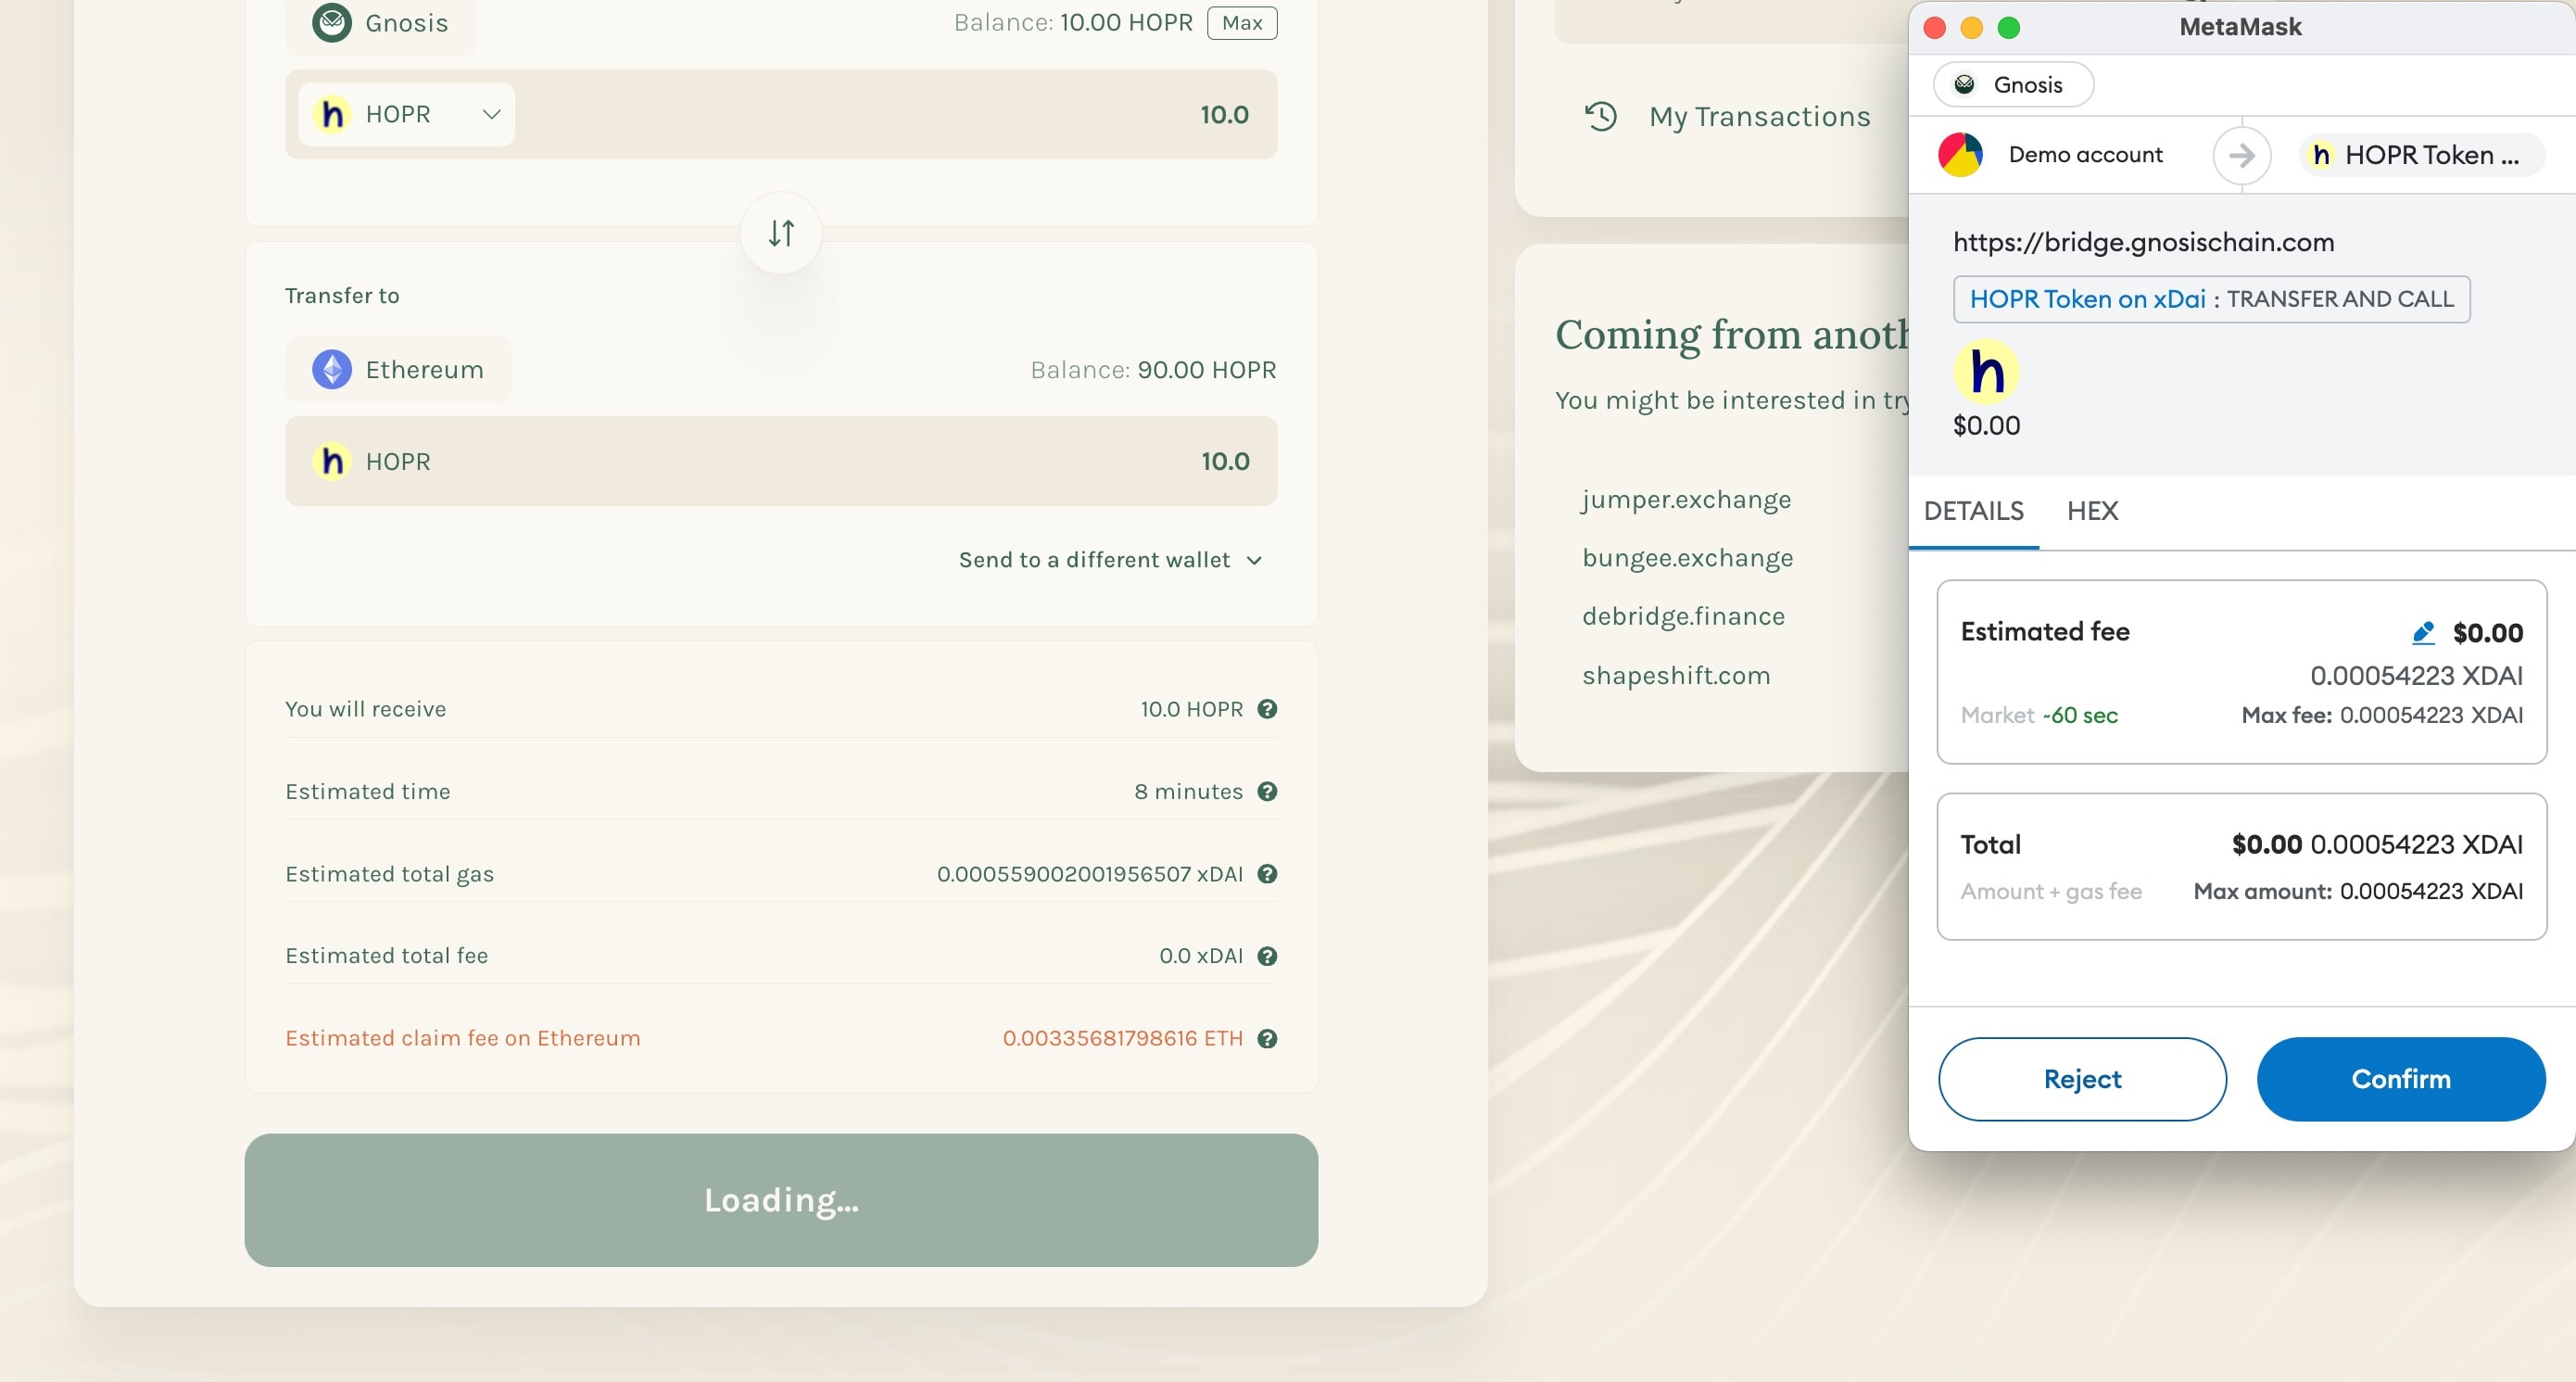
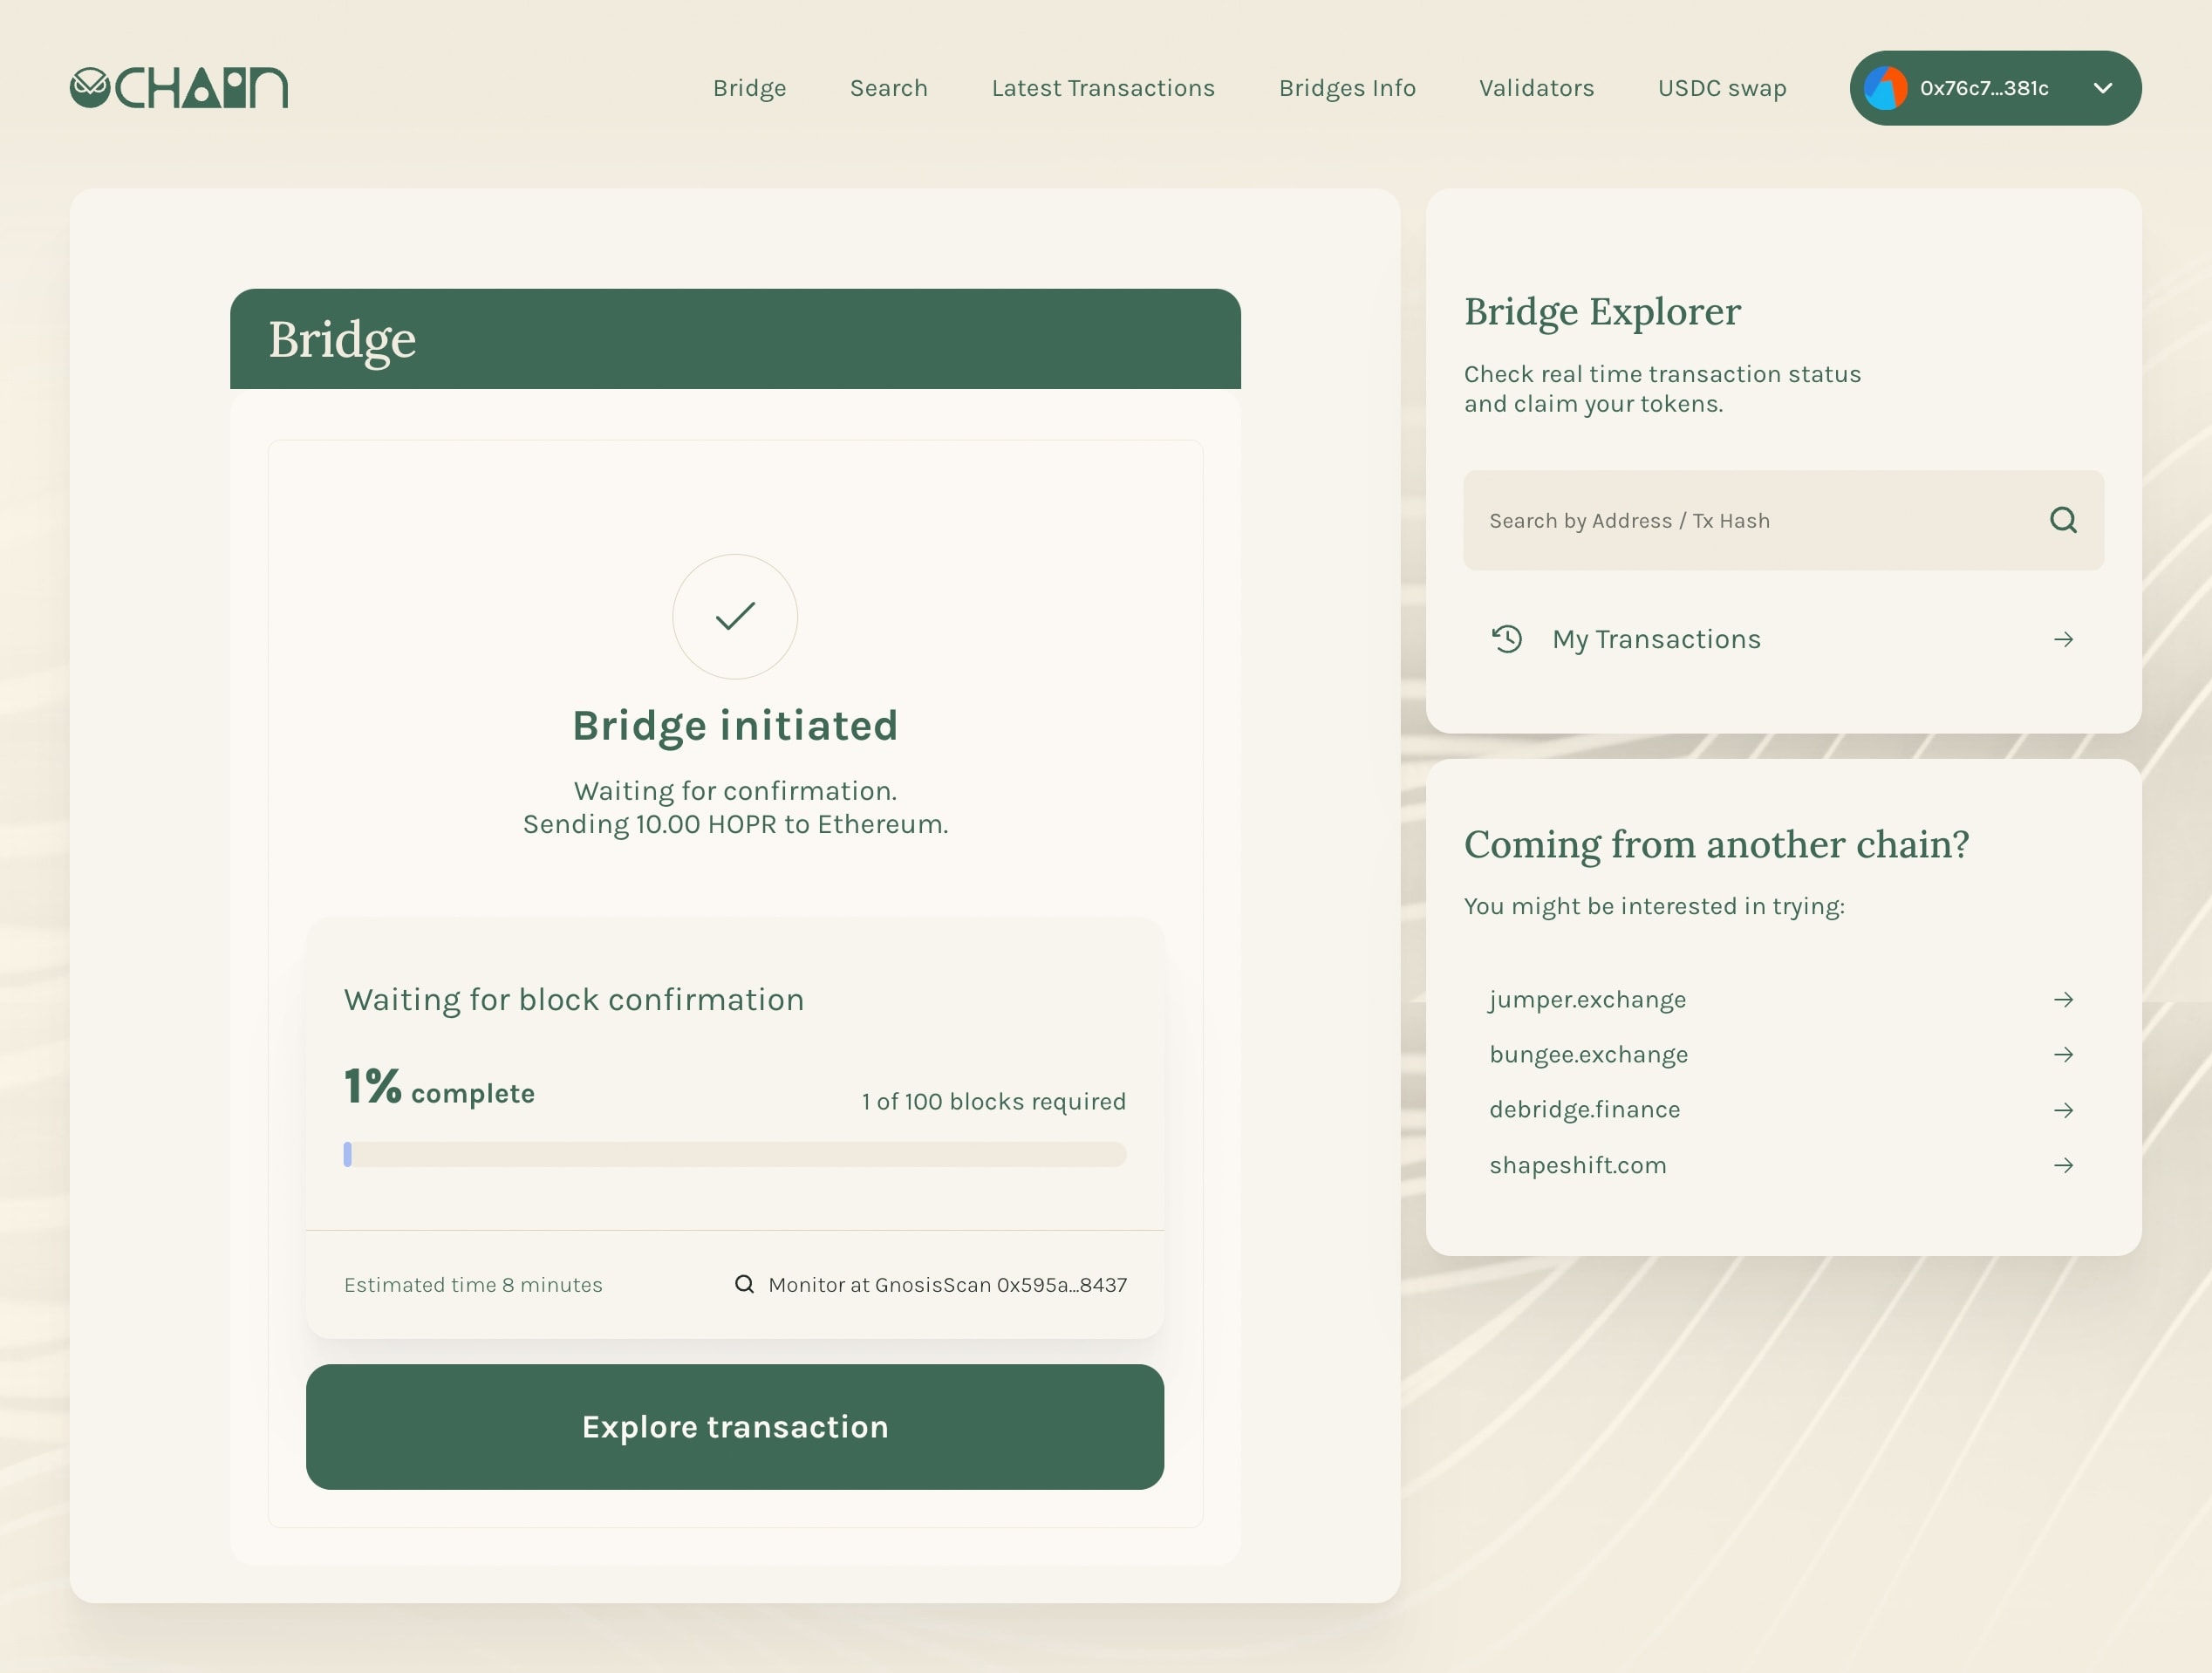
5. Wait for Transaction Completion
Once the bridge transaction starts, you'll see a "Bridge initiated" screen. Wait until the required block confirmations reach 100%.
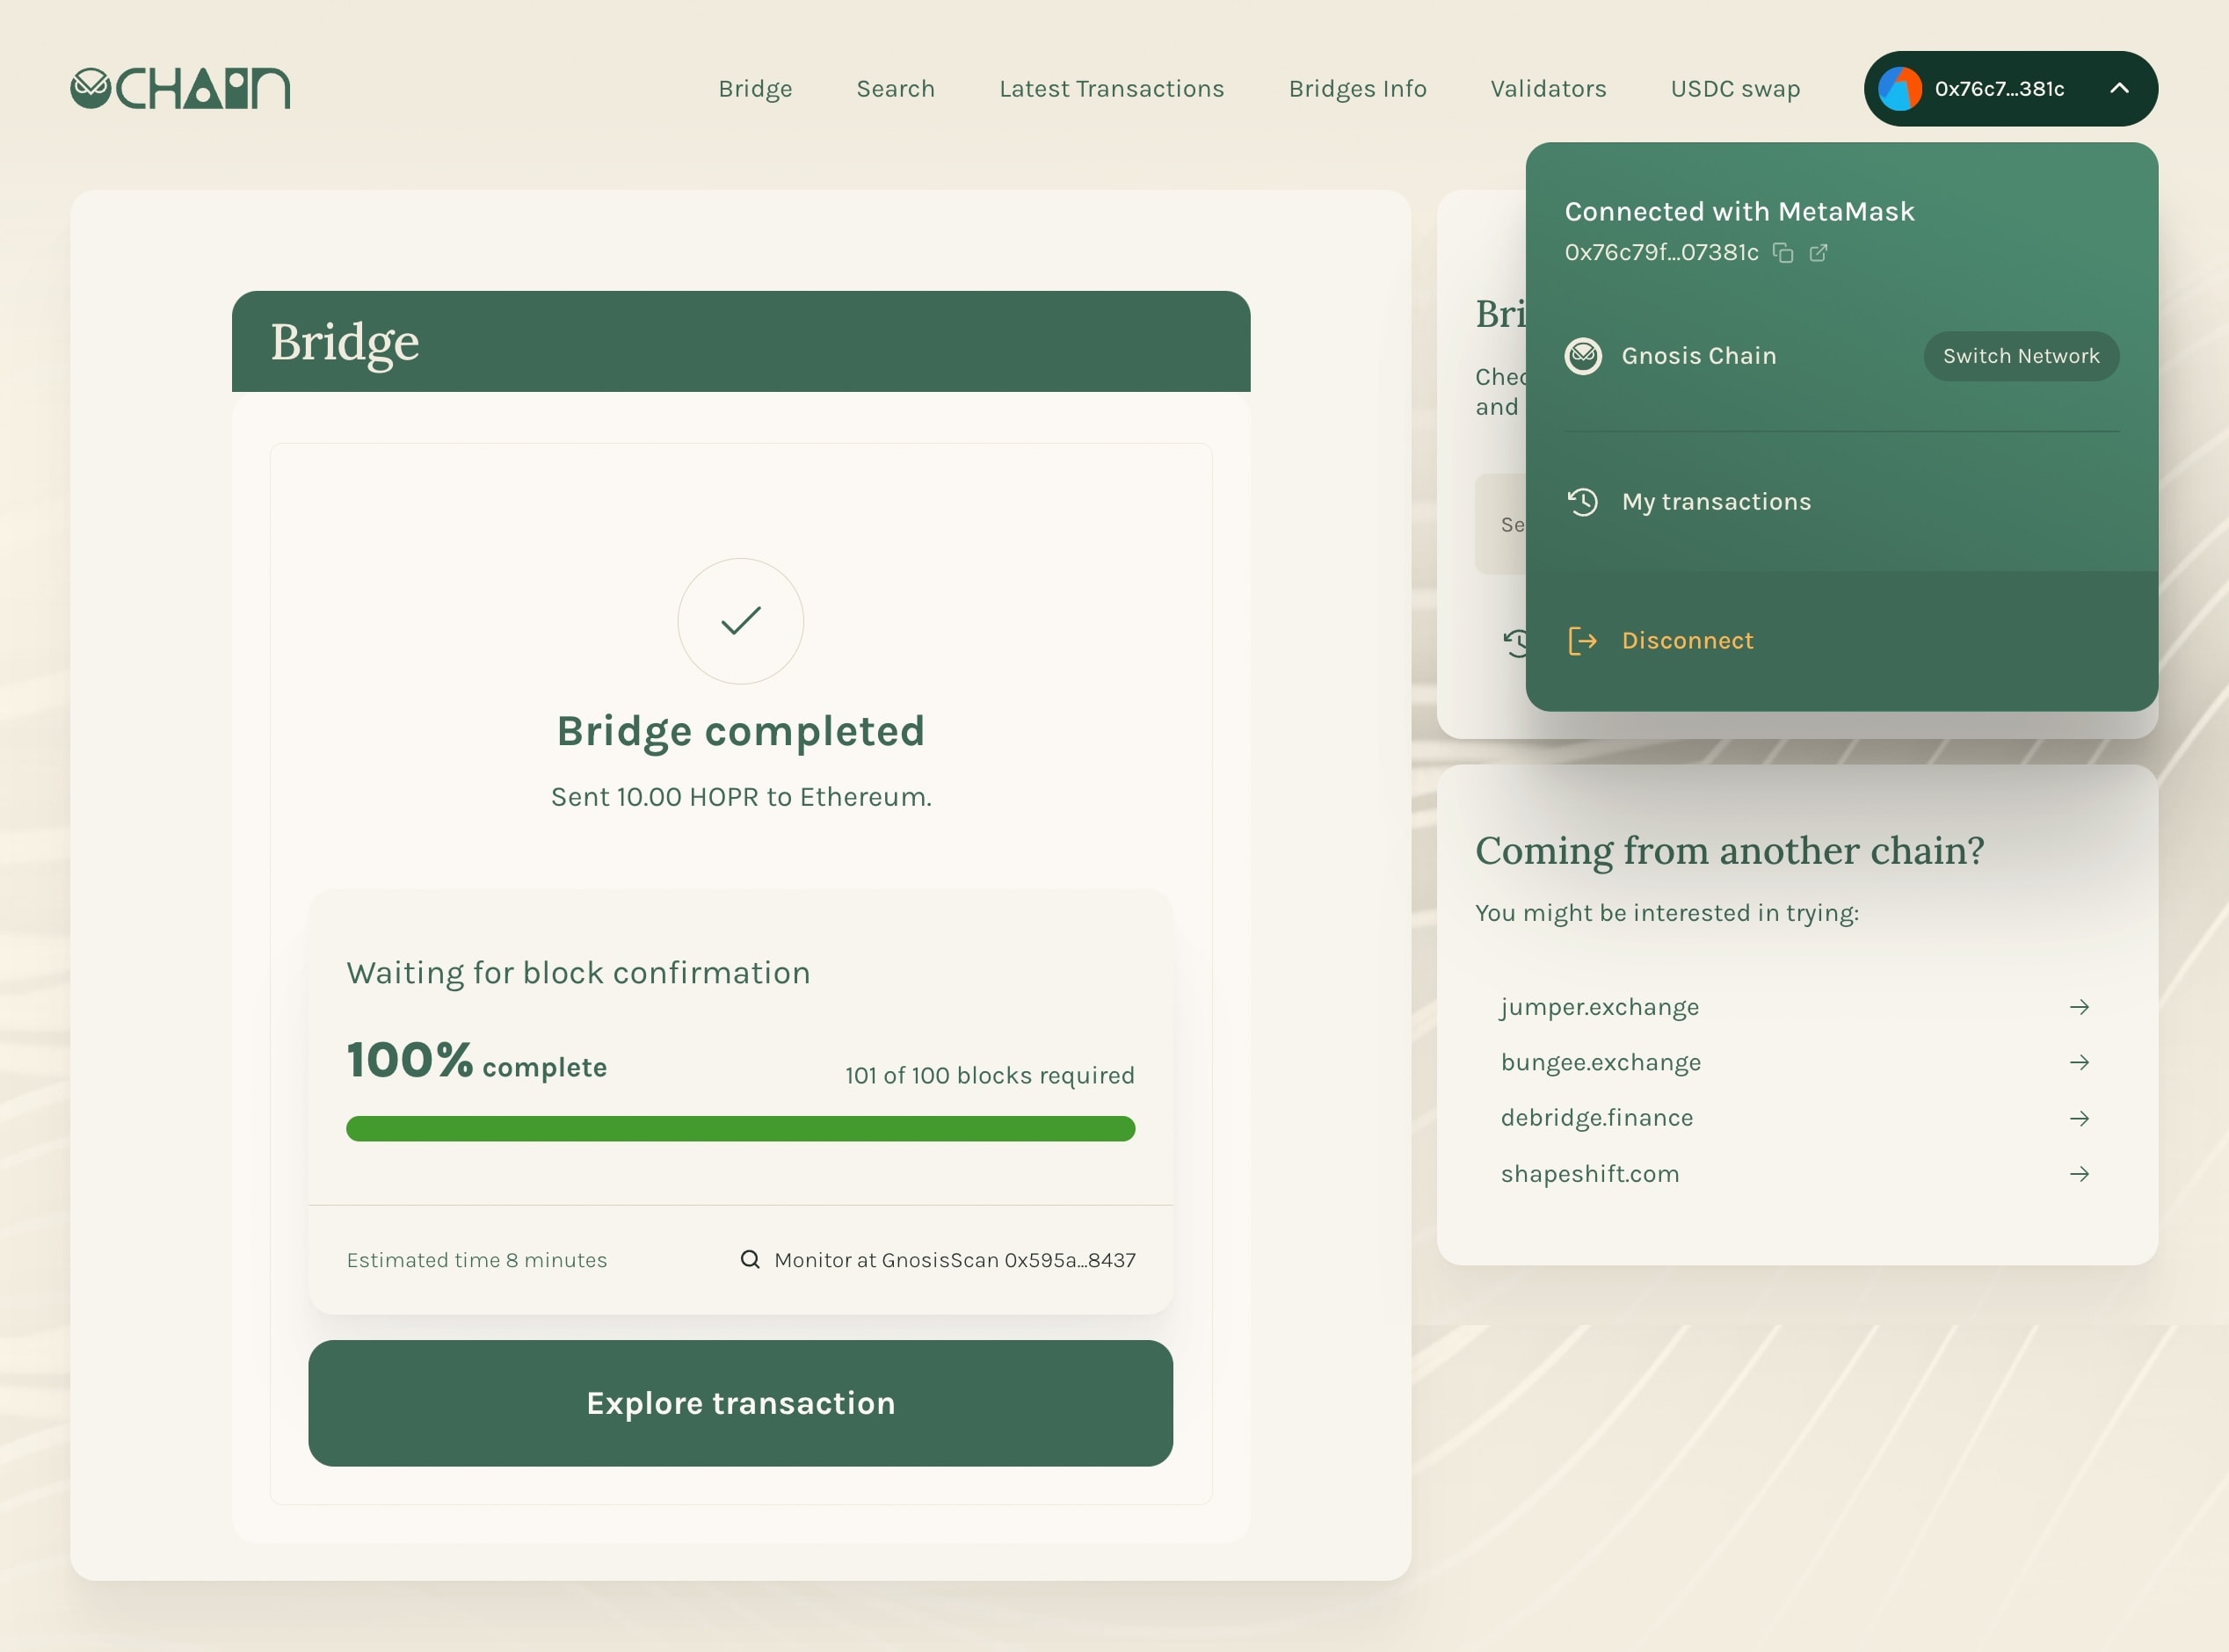
6. Navigate to "My Transactions"
After the bridging process reaches 100%, your HOPR tokens will need to be claimed on the Ethereum chain. First, switch your wallet network from "Gnosis" to "Ethereum". Then, on the Gnosis Bridge page, click your wallet address in the top-right corner and select "My Transactions".
7. Claim HOPR Tokens on Ethereum
Find your recent transaction and click the "Claim" button. You’ll need to pay gas fees on the Ethereum chain to complete the claim.
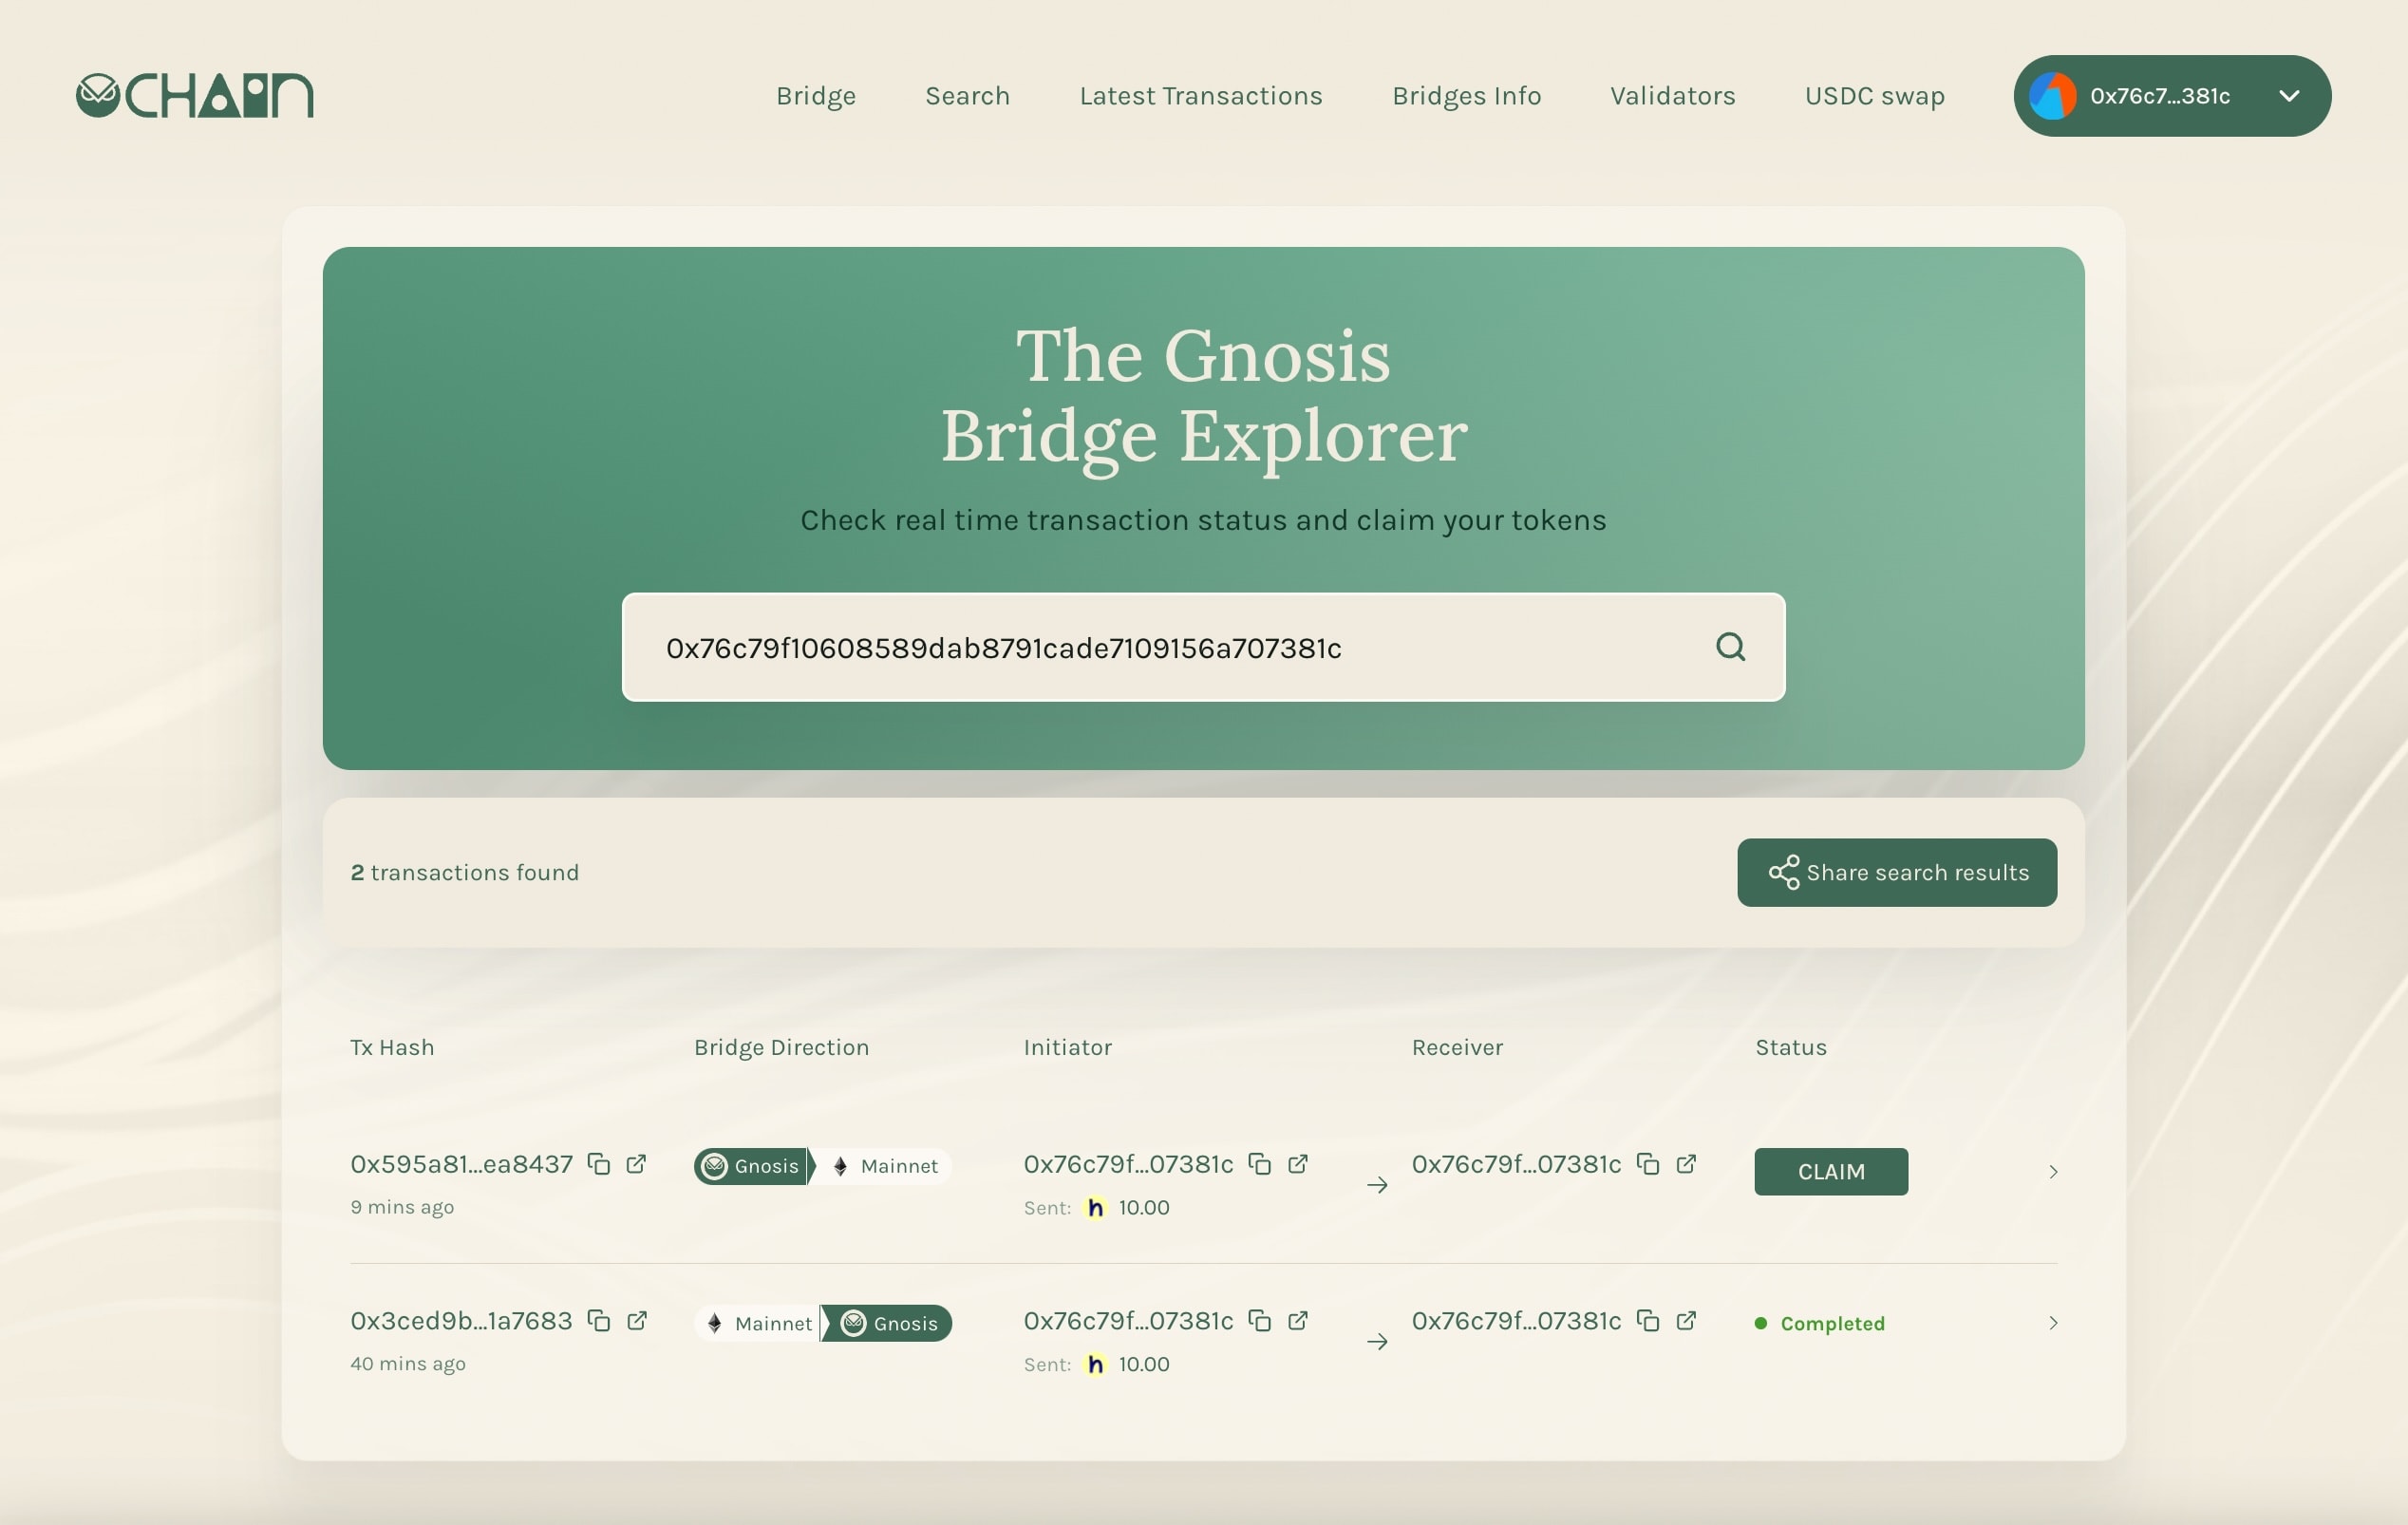
8. Verify Completion & Import Tokens
After clicking "Claim", confirm the transaction in your wallet and wait for it to be executed. Once the transaction is complete, you can now import the bridged HOPR token (HOPR) into your wallet using the correct smart contract address, which can be found here.
