Migration from Avado
1. Prerequisites for migration to Dappnode
To complete the transition, you will need the following:
- An empty USB with at least 2 GB of space
- Physical access to your Avado device
Important: Before following this guide to install DappnodeOS on your Avado device, make sure to first backup any data if you are running a validator or any other dApp. The migration process will otherwise wipe all existing data.
2. Prepare bootable USB stick
(1) Download Dappnode ISO file
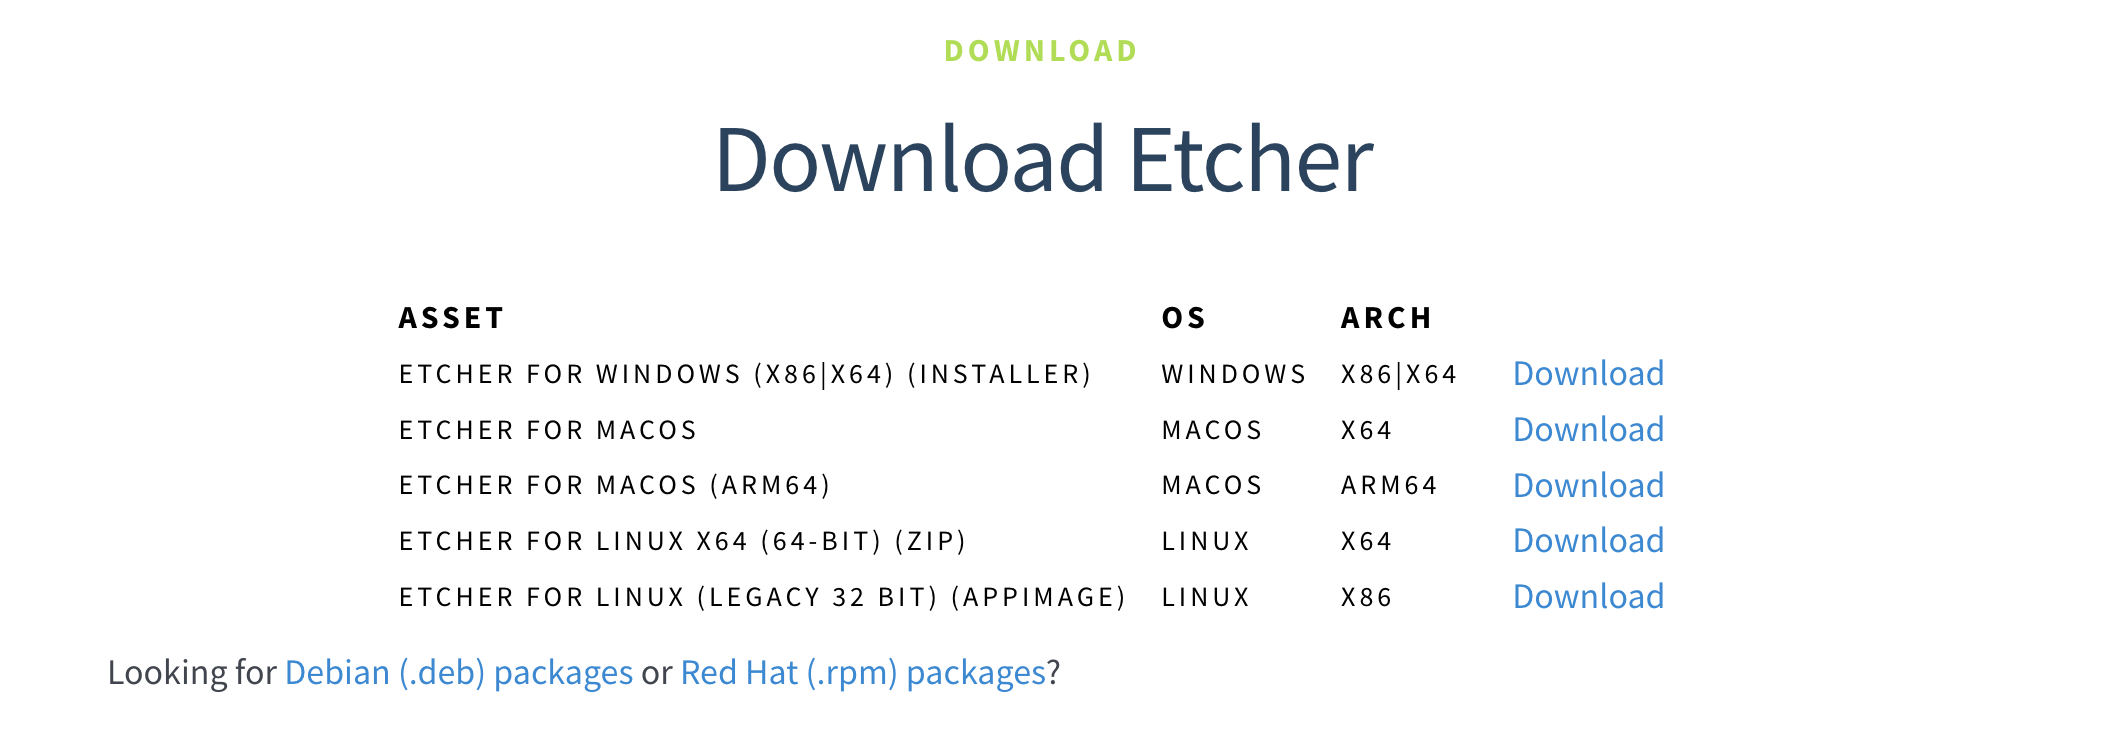
(2) Download Etcher to create a bootable USB, as it will ensure a smooth migration process.

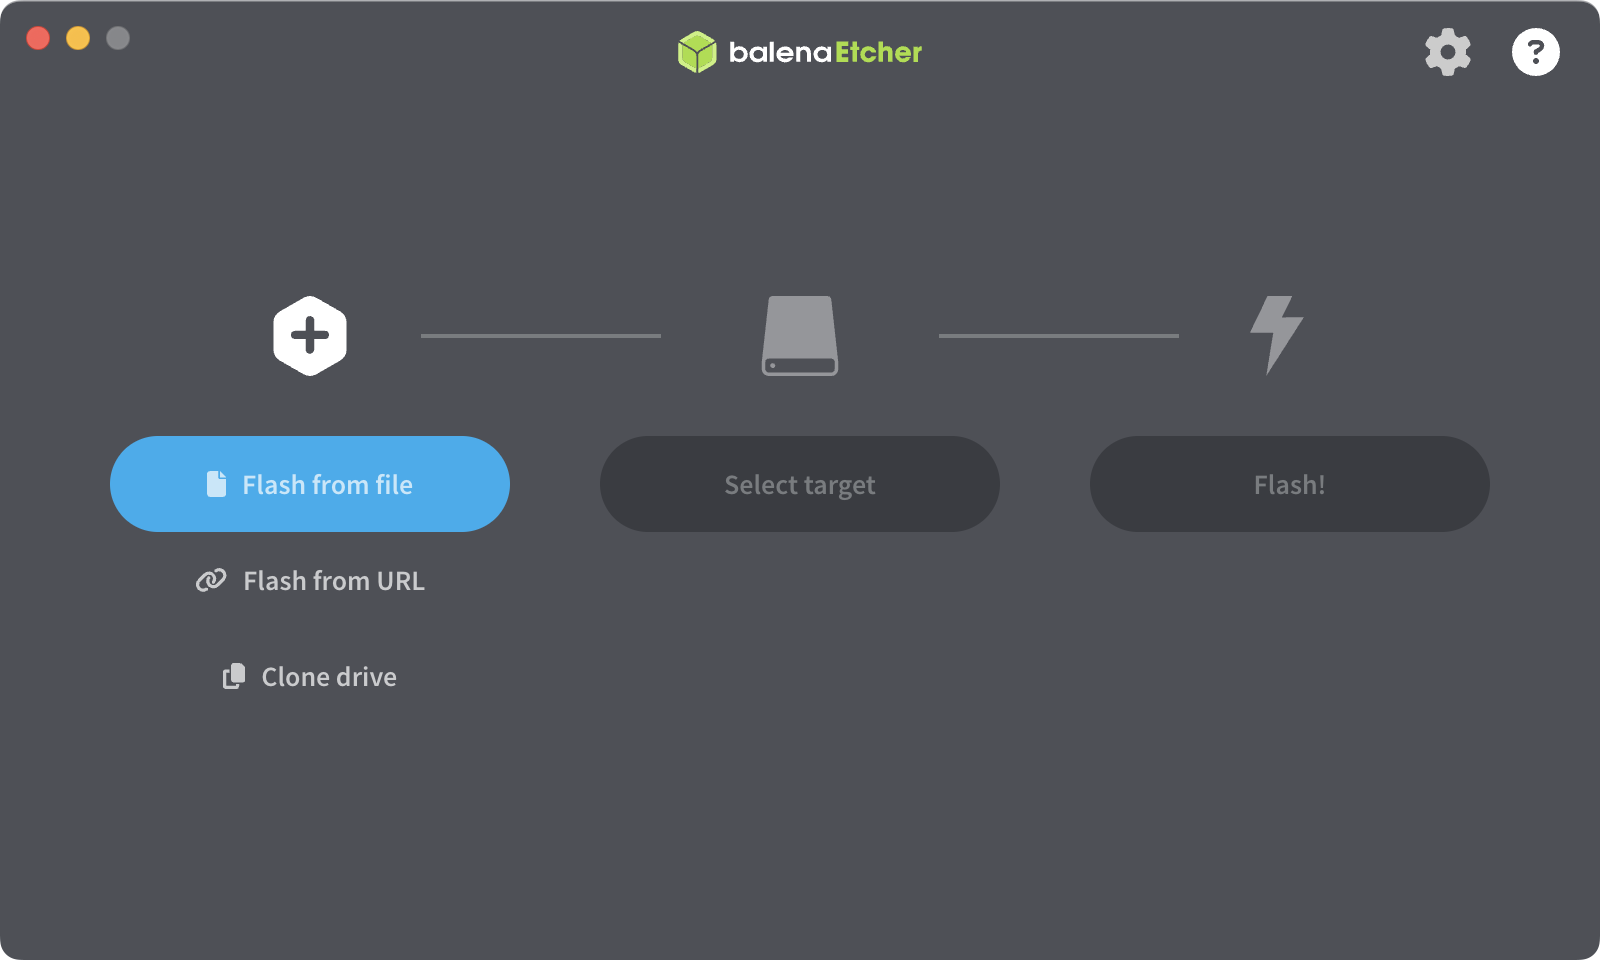
(3) Plug your USB stick into your computer and open Etcher software.

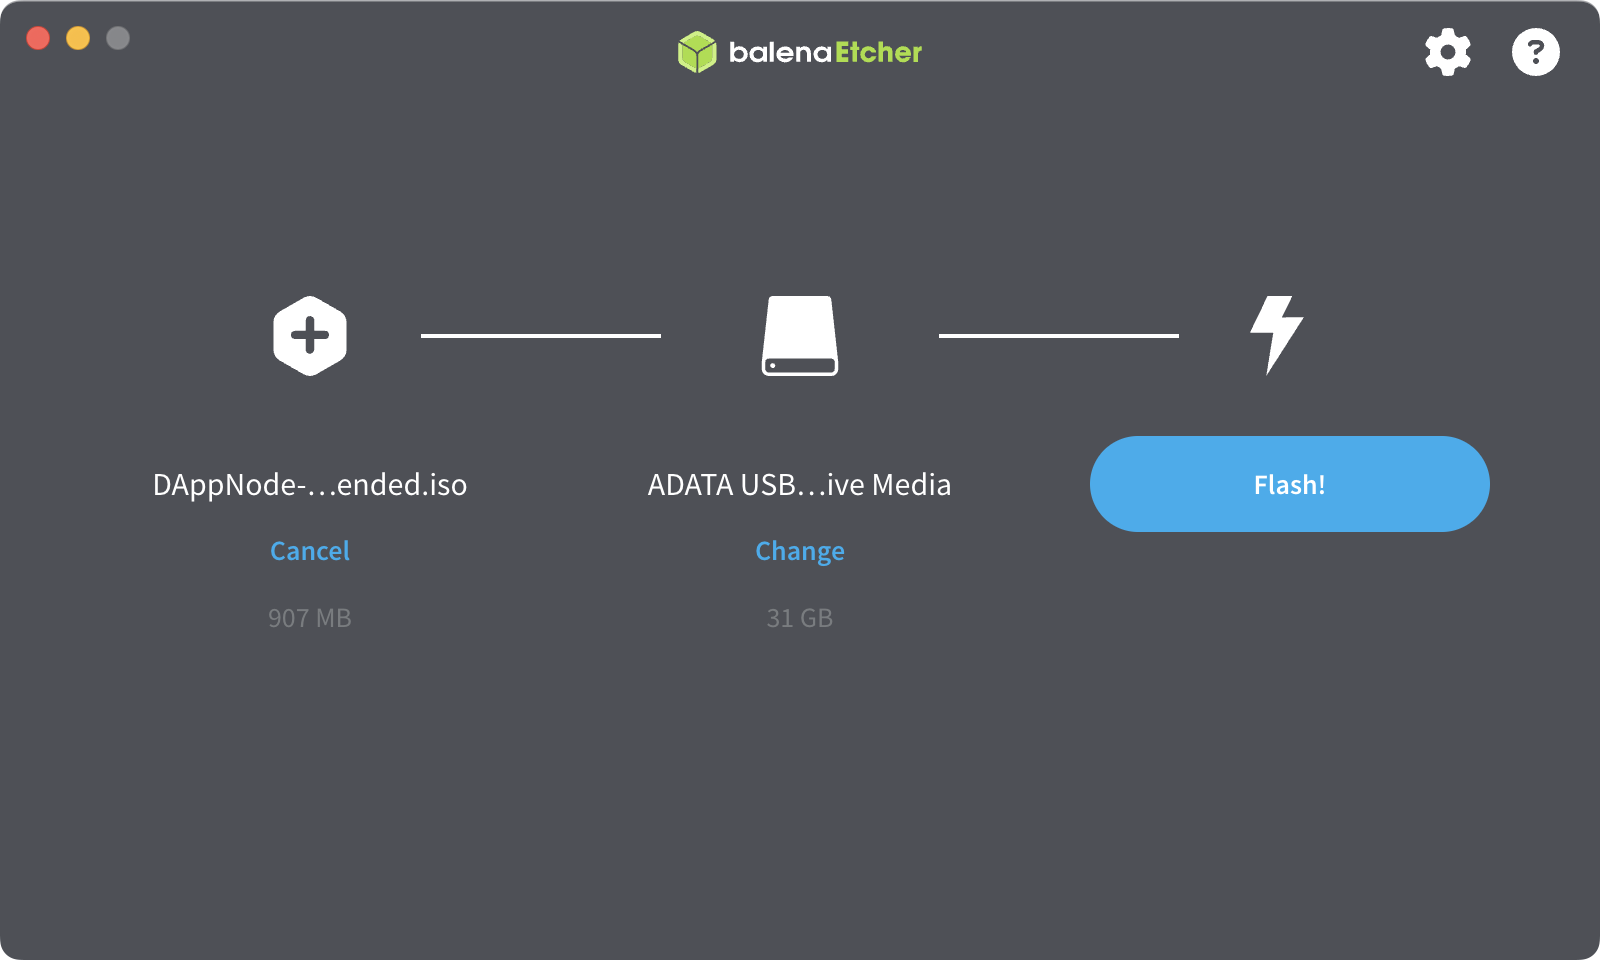
(4) Click the "Flash from file" button and choose the Dappnode ISO file you recently downloaded when prompted.
(5) Click "Select target" and choose your USB stick. Ensure you have backed up any important data, as all contents on the USB stick will be erased!
(5) Then press "Flash!" and wait for the process to complete.

(6) Once the flashing process is complete, you can remove the USB stick and use it to upgrade your Avado node's software.
Important: Your USB stick may not be recognized by your machine due to its different file system. This is expected, and you should proceed with the migration process as planned.
3. Finalise migration process
(1) Turn off your Avado device by pressing and holding the power button on the front for 10 seconds.
(2) Attach the bootable USB stick containing the Dappnode software to any Avado USB port and connect an Ethernet cable to provide internet to the Avado device.
(3) Turn on the Avado device and wait 15 minutes.
(4) After 15 minutes, turn off the Avado device by holding the power button and waiting until the red light goes off.
(5) Remove the USB stick, power the Avado device back on, and wait 5 minutes.
(6) After 5 minutes, check if "DappNodeWifi" appears in your computer's Wi-Fi list. The default Wi-Fi password for DappNode is dappnode.
4. Start your HOPR node
After migrating your Avado device to run Dappnode software, begin the process of setting up your node by visiting the overview page. This guide will help you get started and ensure your node is running smoothly.