Binary
Please note that you must start the onboarding process before setting up your node. To start, visit the Overview page.
Download HOPRd binary file
-
Go to the Release Page
Visit the HOPRd v3.0.0 release page.
-
Find the right file
-
In the Assets section, download the binary file that matches your operating system and architecture.
Look for a file named:hoprd-<architecture>-<platform>Examples:
hoprd-x86_64-linux– for most 64-bit Linux systemshoprd-aarch64-linux– for ARM-based Linux (Raspberry Pi 4/5, ARM servers)hoprd-x86_64-darwin– for macOS on Intelhoprd-aarch64-darwin– for macOS on M1/M2
-
Create a folder named
hoprd, move the downloaded binary file into it.
-
Implement configuration file
-
Create the Configuration Directory
Inside the newly created
hoprdfolder, create a subfolder namedconf. -
Download the Example Config File
Get the example configuration file specifically for the Binary: hoprd-binary.cfg.yaml
-
Adjust Configuration Values
Make necessary edits to the configuration file based on these guidelines.
Configure systemd for binary
Systemd allows you to create a service that runs your application in the background.
Before setting up a systemd service for the HOPRd node, make sure you have root access.
If not, you can use a process manager like tmux instead.
-
Create the service file
Open a terminal and create the
hoprd.servicesystemd file:sudo vim /etc/systemd/system/hoprd.service -
Paste the service configuration
Use the following configuration. Adjust paths and values if needed:
[Unit]
Description=HOPRd Node Service
After=network.target

[Service]
Type=simple
User=root
ExecStart=/root/hoprd/hoprd
Restart=on-failure
RestartSec=5

Environment="HOPRD_DATA=/root/hoprd/data/"
Environment="HOPRD_CONFIGURATION_FILE_PATH=/root/hoprd/conf/hoprd-binary.cfg.yaml"
Environment="HOPR_INTERNAL_LIBP2P_MSG_ACK_MAX_TOTAL_STREAMS=1000"

WorkingDirectory=/root/hoprd/
StandardOutput=journal
StandardError=journal

[Install]
WantedBy=multi-user.target
Configuration notes:
Setting Description User User to run the service. Default is root.ExecStart Command used to start the HOPRd binary. This should be the full path to the executable file hoprd. Default value is /root/hoprd/hoprdEnvironment Sets environment variables required by the HOPRd process. WorkingDirectory Sets the working directory where relative paths will resolve. After making changes, save hoprd.service file.
-
Reload systemd
Update systemd to apply the changes. You need to run this command after creating, modifying, or deleting a unit file (such as a
hoprd.servicefile). It refreshes systemd’s internal state so it can recognize the updated service configuration.sudo systemctl daemon-reload -
Enable the
hoprd.serviceservice on bootEnable the service to launch automatically at system boot:
sudo systemctl enable hoprd -
Start the
hoprd.serviceserviceStart the HOPRd node:
sudo systemctl start hoprd -
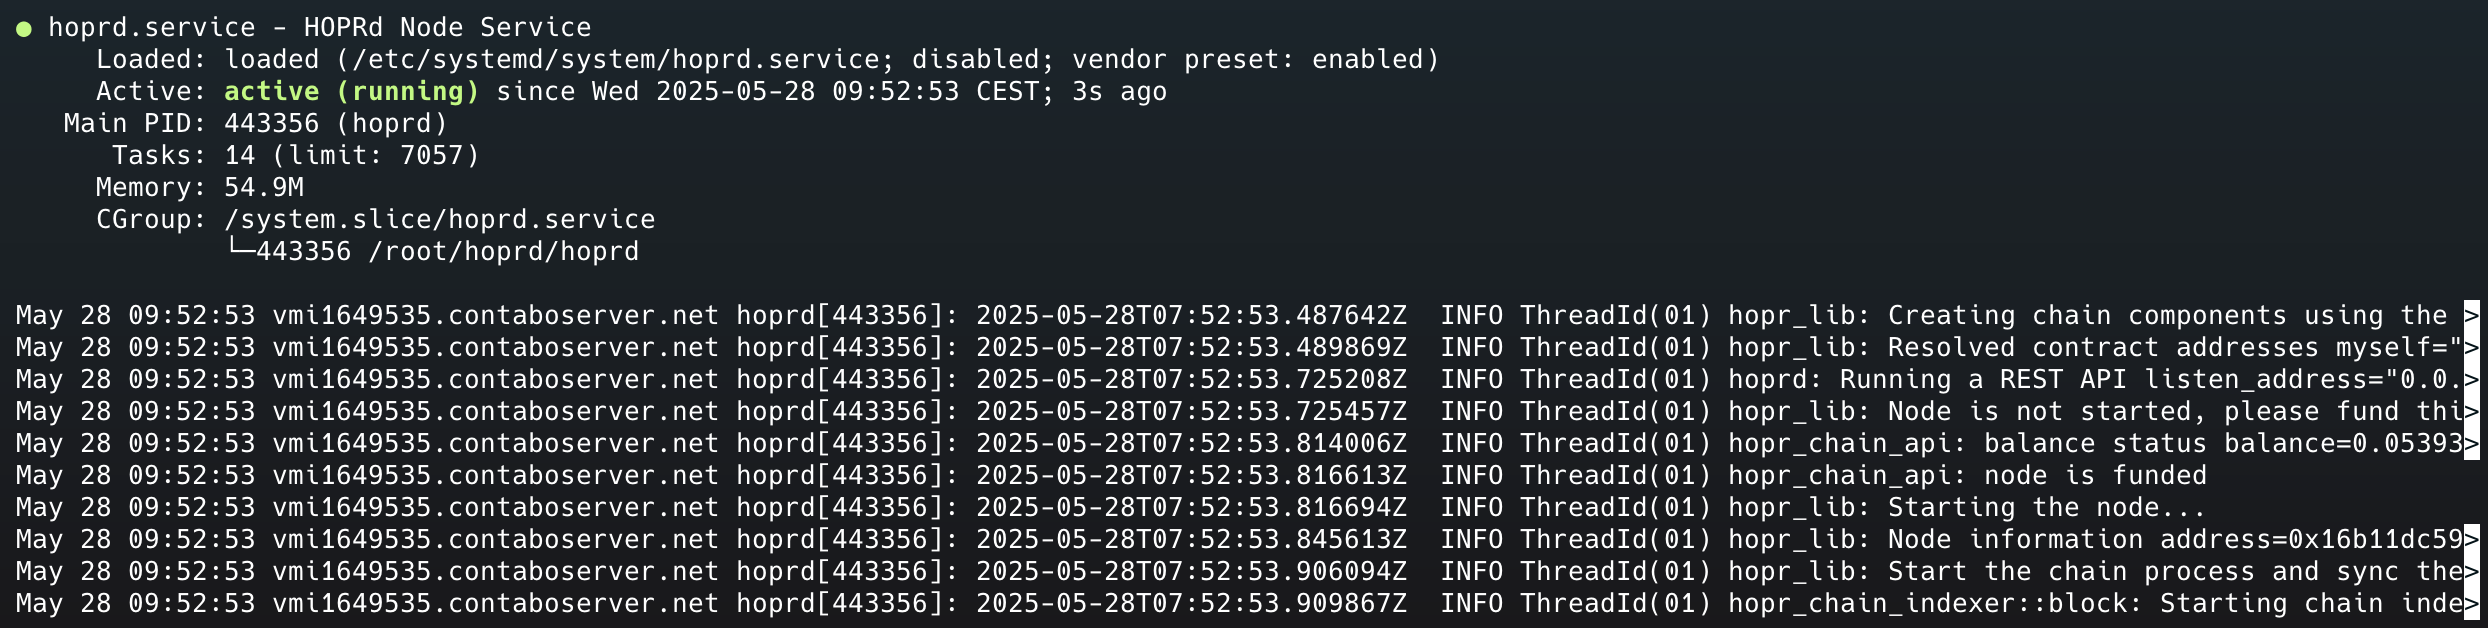
Verify the
hoprd.serviceservice statusConfirm that the service started successfully:
sudo systemctl status hoprdExample output:
 note
noteIf
hoprd.serviceis not active, generate logs before asking for help:journalctl -u hoprd >> "hoprd_$(date +%F).log"Then share the log file with the Ambassadors or Moderators for assistance.
Start HOPR Admin UI
HOPR Admin UI is an application that helps you connect to and manage your HOPRd node. Copy the command below and execute it in your terminal window:
docker run -d --pull=always -p 4677:4677 --name hopr-admin europe-west3-docker.pkg.dev/hoprassociation/docker-images/hopr-admin:stable
Link your node to your HOPR Safe wallet
-
Access the HOPR Admin UI
If you're using the default configuration, open the Admin UI in your browser:
http://localhost:4677- Replace
localhostwith your server IP address if running on a VPS. - Ensure the port
4677is correctly mapped during setup.
- Replace
-
Connect to your node
Click CONNECT TO NODE in the top-right corner. In the Node credentials popup:
-
API endpoint: Default is
http://localhost:3001. Replacelocalhostwith your VPS IP if applicable. Adjust the port if you changed it. -
API token: Enter the custom security token you created during the initial HOPRd setup.
-
-
Copy your node address
After clicking Connect to the node, your node address (starting with
0x) will appear. Copy it for use during onboarding. -
Return to the HOPR Staking Hub
There's no need to manually fund your node with xDai tokens. Funding will happen during onboarding via the HOPR Staking Hub.
Visit the HOPR Staking Hub to: Register for the waitlist, or complete onboarding if you’ve been approved.
What's next?
Once you've completed the onboarding process, ensure your node is fully synced (100%) and that you've opened at least one outgoing payment channel with a random peer.
To start earning rewards through Cover Traffic, follow these steps to meet the necessary requirements:
-
Install the HOPR Admin UI
Install HOPR Admin UI and connect to your node via the HOPR Admin UI.
-
Check if the node is 100% synced
On the
INFOpage, under theNetworksection, confirm that theSync Processis at100%.
If it’s not fully synced yet, you’ll need to wait until the process is complete. -
Open outgoing channel and verify
-
Once synced, go to the
PEERSpage and select a random peer with a connection quality above90%.
Click theOPEN Outgoing Channelicon, enter1as the amount (or another value), and click Open Channel.
You’ll receive a notification once the channel has been opened. -
Navigate to the
CHANNELS: OUTpage to verify that the outgoing payment channel has been successfully opened.
-
Congratulations! Your node should now be fully operational and earning rewards. Be sure to periodically check that your node is performing properly.