Using Staking Hub
The HOPR Staking Hub is where you can complete the onboarding process for your HOPR Safe and HOPR Node. You can also access the Staking Hub Dashboard here to manage your nodes, Safe and incoming transactions.
How To Access The Dashboard
(1) Go to hub.hoprnet.org/
(2) Connect the wallet associated with your HOPR Safe
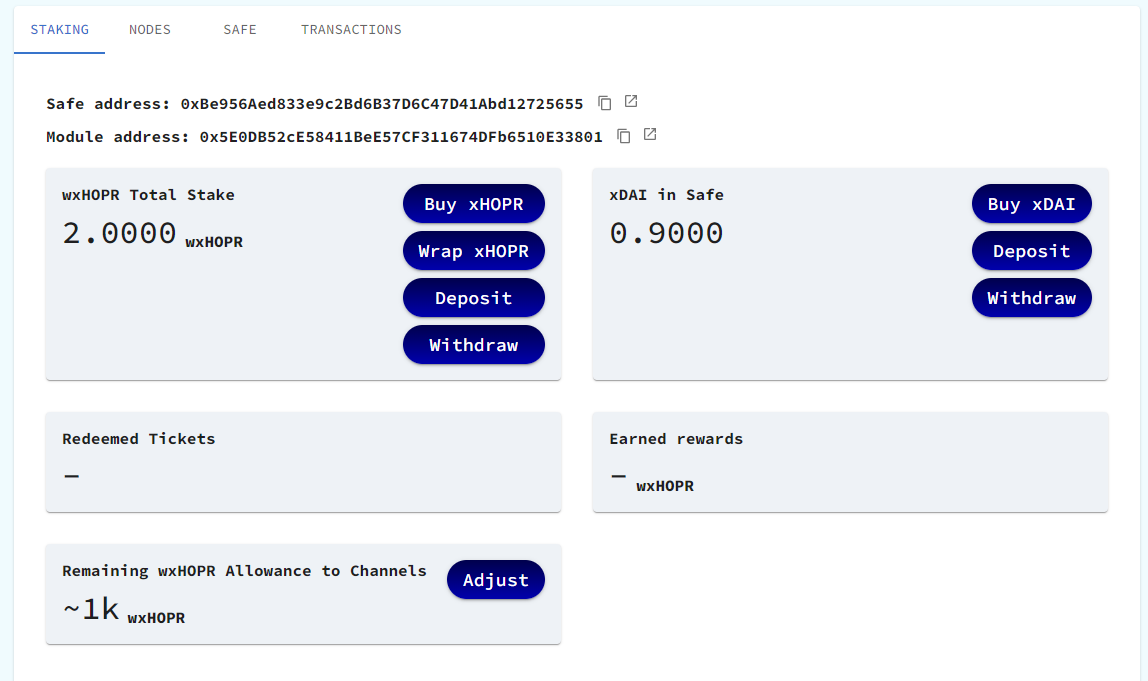
(3) On the left menu, select Dashboard. You should be greeted with a dashboard with the tabs: STAKING, NODES, SAFE and TRANSACTIONS.
Node Settings
Under the NODES tab, you can view, add and fund nodes. You can associate multiple nodes with a single HOPR Safe, but be careful not to allow your stake per node to drop below 10,000 wxHOPR if you have an NR NFT or 30,000 wxHOPR per node if you don't have one.
For example, run no more than six nodes if you have 60,000 wxHOPR staked with an NR NFT in your HOPR Safe. Otherwise, you will become ineligible for cover traffic.
How To Add Multiple Nodes
You can associate multiple HOPR Nodes to a single HOPR Safe. To add a new node to your HOPR Safe:
(1) Go to the Node tab of the Staking Hub Dashboard.
Note: Make sure your wallet is connected.
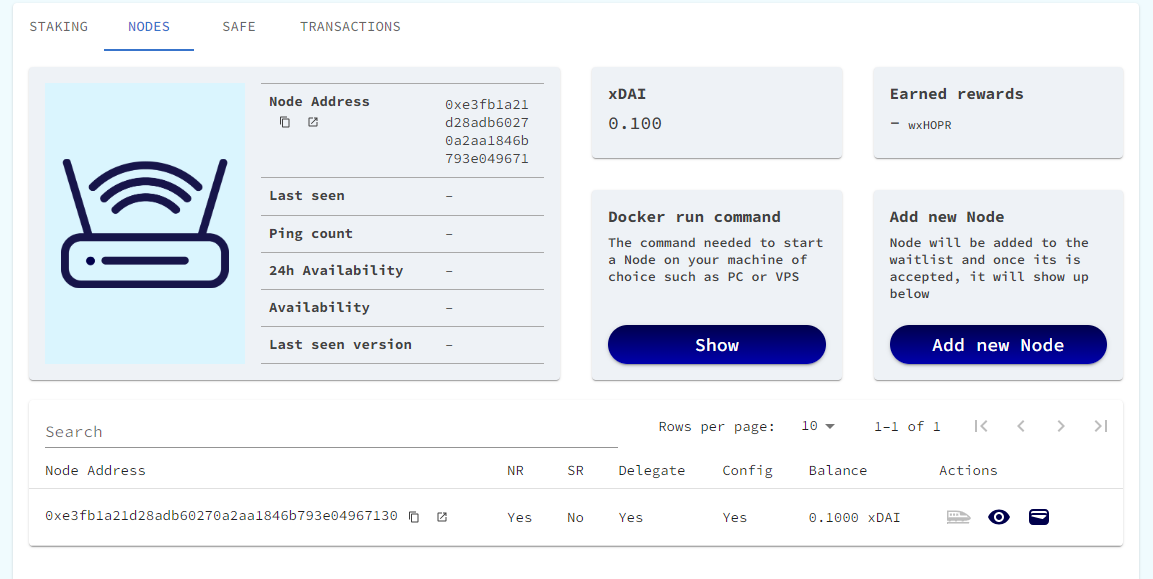
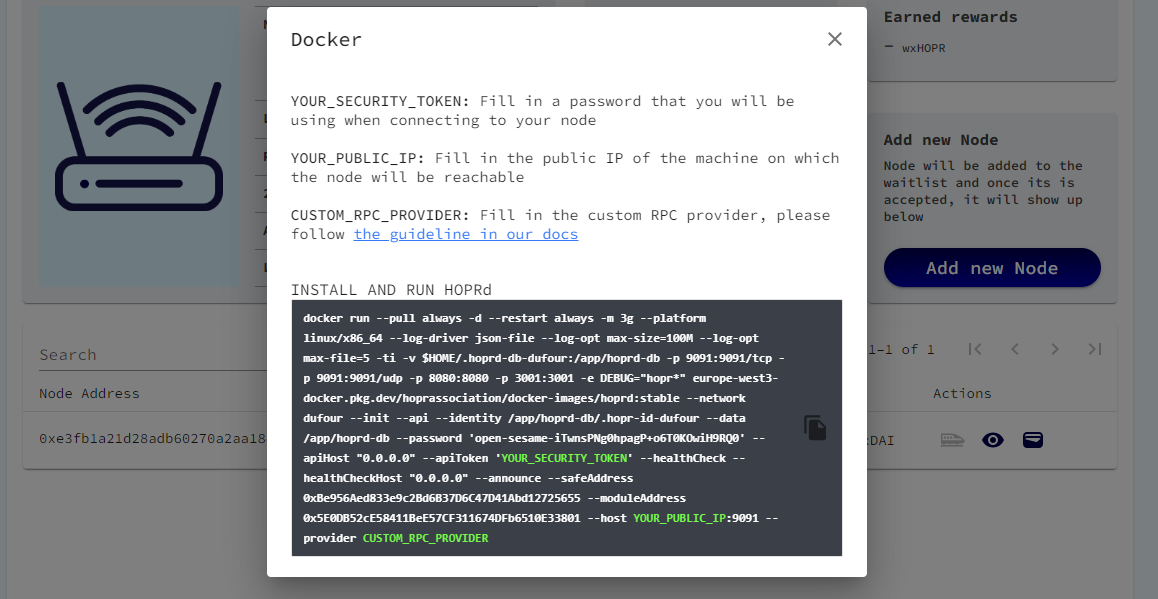
(2) Press the Show button under the Docker run command section.
(3) Copy the command, edit it with the required details and run the command to start a new node.
Note: Make sure to change the API Token, Public IP Address and Custom RPC Provider.
(4) Copy the node address of your new node.
For assistance on this, you can view the docs here.
(5) After copying your node address, press the Add New Node button on the dashboard. This should open the waitlist form.
(6) Fill out the waitlist form with your details and the new node address you should have copied.
Note: You can apply to add multiple nodes at once through this method. Just start more nodes and enter all of their addresses under the 6th section of the form.
(7) Wait for your new nodes to be added to the network. Once this is done, they should become visible in the dashboard.

(8) Once your new node appears on the dashboard, press onboarding on the main menu. The main menu should be visible on the left side of the staking hub.
(9) Complete the onboarding for your new node. You can use this video or the docs as guidance for the onboarding process.
How To Remove Nodes
(1) Go to the Write Contract Tab of the HOPRNodeManagement Module Smart Contract. Here is a direct link.
(2) Press the Connect to Web3 link above the functions and connect to the owner wallet of your Safe.
(3) Navigate to teh removeNode function It shouold be the seventh from the top.
(4) Enter the node address of the node you wish to remove and press Write.
Safe Settings
Under the SAFE tab, you can transfer an NR NFT and manage your owners / multisig settings.
How To Setup Multisig
To set up a multisig, you can add new owners to your HOPR Safe and change the number of required confirmations for a transaction to be considered valid. You can view how to do each of these things individually below.
How To Add Owners
(1) Go to the Safe tab of the Staking Hub Dashboard.
Note: Make sure your wallet is connected.
(2) Press the Edit button on the top right of the Safe Owners section.

(3) Enter the Ethereum address of the new owner wallet you want to add in the field Add Owner.

(4) Press the button Add, and sign the prompted transaction.
Note: If you already have a multisig set up, you must confirm this transaction from the required number of owners to add a new owner.
How To Change Required Confirmations
(1) Go to the Safe tab of the Staking Hub Dashboard.
Note: Make sure your wallet is connected.
(2) Press the Edit button on the top right of the Safe Owners section.
(3) Change the Required Confirmations in the drop-down menu and press update. Then, sign the transaction prompt in your wallet.
How To Remove Owners
(1) Go to the Safe tab of the Staking Hub Dashboard.
Note: Make sure your wallet is connected.
(2) Press the Edit button on the top right of the Safe Owners section.
(3) Press the bin icon next to the wallet you would like to remove, then sign the prompted transaction.
Note: You must sign this transaction as many times as is required by your current multisig settings.